More Pages: Low Poly Modelling
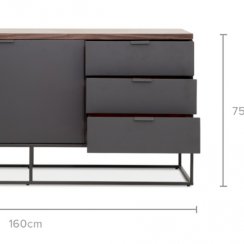
1: 3D Model
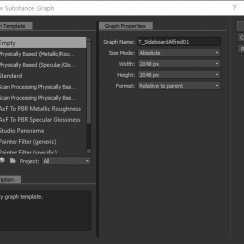
2: Baking
3: Import
4: Mat Functions
Modern Sideboard Part 3 - Import And Editor Setup
This part shows how to import the sideboard model into Unreal and how to use the baked textures to create a single layered material for the asset.
Content:
Importing FBX
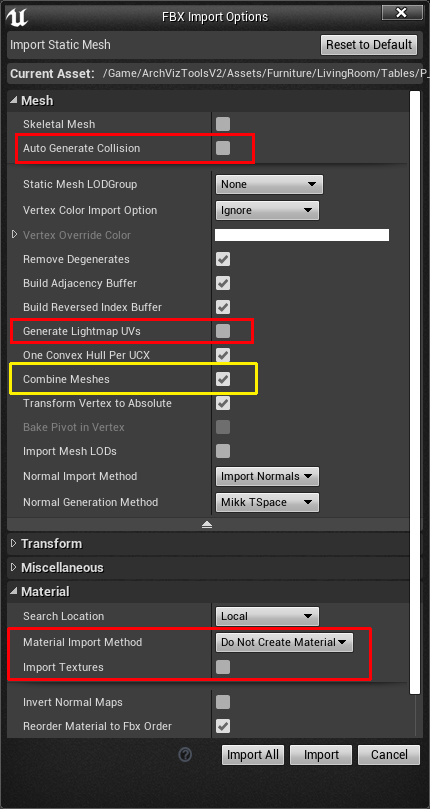
Make sure the folder you want the asset to be imported into is actually selected before you import the asset. When importing a FBX file for the first time into a new Unreal project I usually disable 4 settings:- Auto Generate Collision = false
- Generate Lightmap UVs = false
- Material Import Mathod = Don not Create Materials
- Import Textures = false
All of these are better dealt with manually. Some of these settings are hidden. Changing these settings will make them default for the next import. You don't have to do this all the time.
Next image:
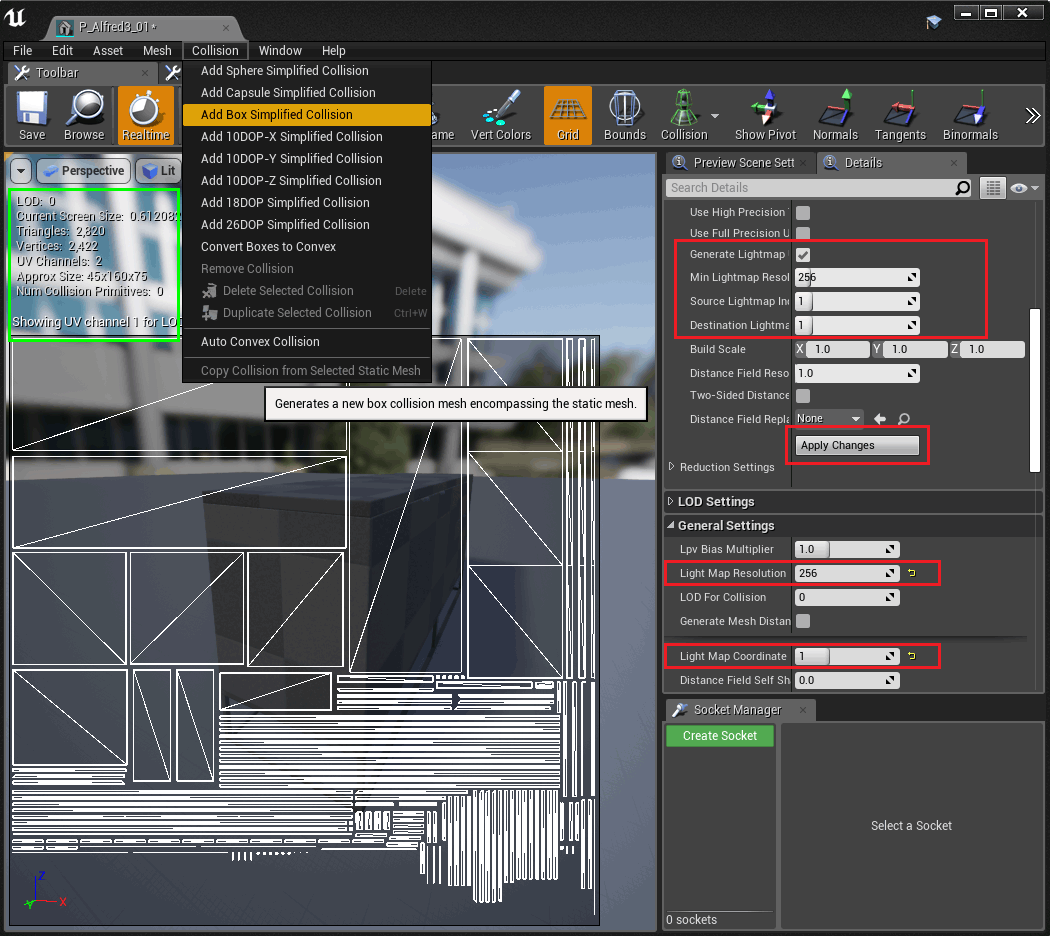
To open the mesh settings of the sideboard double click it in the Content Browser.
First I'll add collision to it by choosing 'Add Box Simplified Collision' from the collision menu. You can see if the mesh already has a collision box, with other useful information, in the stats that are displayed in the viewport (green square). If so remove the old collision first in the same menu.
You'll notice that the vertex count here might be different to the vertex count in 3ds max. The reason is most likely the lightmap. I have to flatten the UV's to create a working lightmap which adds additional verts to the mesh.
Next I'll resort the UVs in the 2nd UV channel. In the 'Build Settings' of 'Lod 0'
- Generate Lightmap = true
- MinLighting Resolution = 256
- Source Lightmap Index = 1 (0 is the first, 1 is the 2nd)
- Destination Lightmap Index = 1
What this does is creating a new lightmap in ID 1 using what is already there. This just rearranges the lightmap islands. I found that Unreal's lightmaps are much more efficient than the ones created in 3ds Max.
This is only half the work needed. I only created the lightmap and now I need to actually apply the new settings to the mesh. Scrolling down to the 'General Settings'
- Light Map Resolution = 256 (at least the same number as above)
- Light Map Coordinate Index = 1 (this might be still at 0 because I didn't auto- create a Light Map during import)
To check the lightmap of the mesh use the UV icon in the Toolbar.
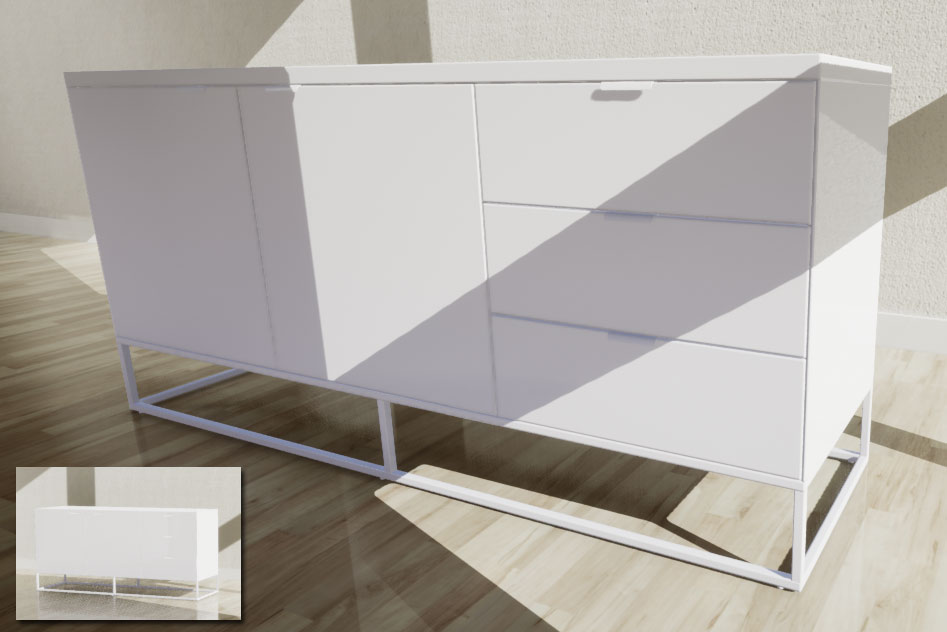
If I zoom out the mesh looses all its detail like seen in the little picture in the right bottom corner.
So why not using dynamic lighting for the entire scene? - It is expensive to render the entire scene in dynamic lighting and dynamic lighting only has one bounce. The result will look a bit pale and without any life.
I'll import the 2 textures I created in Substance to make a proper material for the sideboard. I know some people separate the assets into a general folder for meshes, materials and textures. I have a folder for sideboards and within the folder I have a material and a texture folder like that.
- .../furniture/sideboards
- .../furniture/sideboards/mat
- .../furniture/sideboards/tex
The materials and mask and normal texture are specific to the sideboard and cannot be used on any other object. It just creates a lot of searching if they are in a totally separate folder.
Material
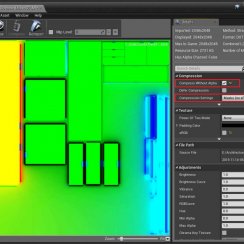
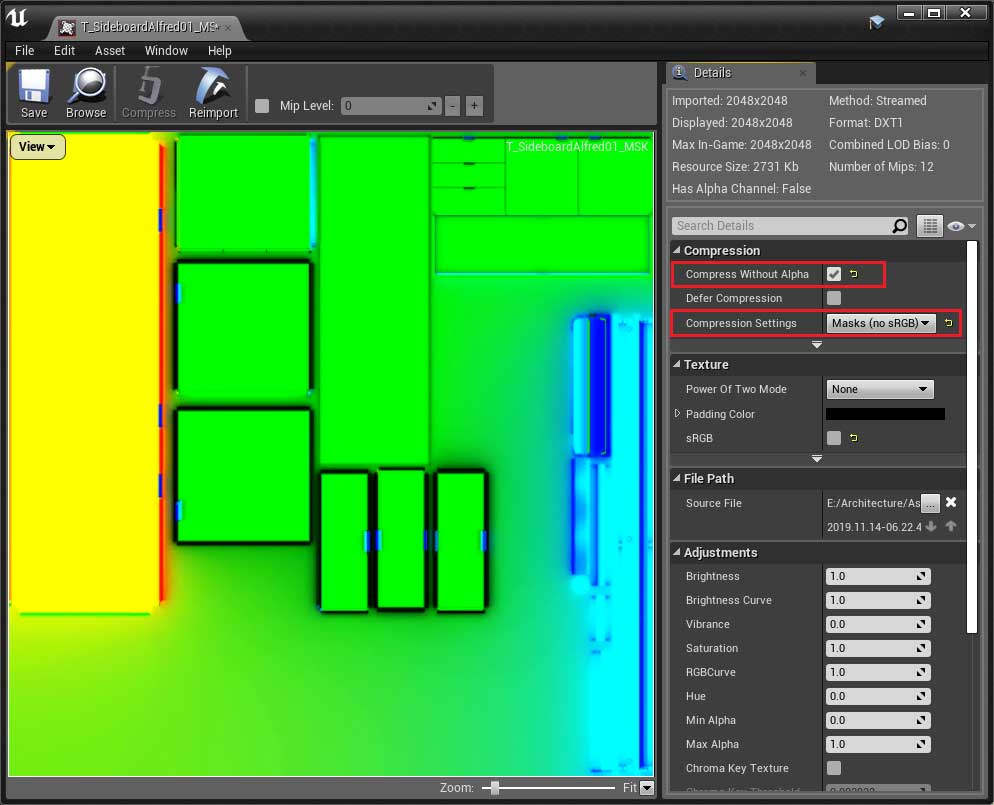
After importing the mask texture there are 2 little changes required. The Texture Editor opens up after double clicking the mask.- Compression Without Alpha = true
- Compression Settings = Masks (no sRGB)
I don't use alpha so I tick this. As far as I know the size of the texture in memory is quite a bit higher with alpha enabled and Substance always seems to export an alpha channel.
The other setting turns of sRGB. Again I don't exactly know what this does. Because we are using the RGB channels as 3 masks it supposed to give cleaner results for those masks.
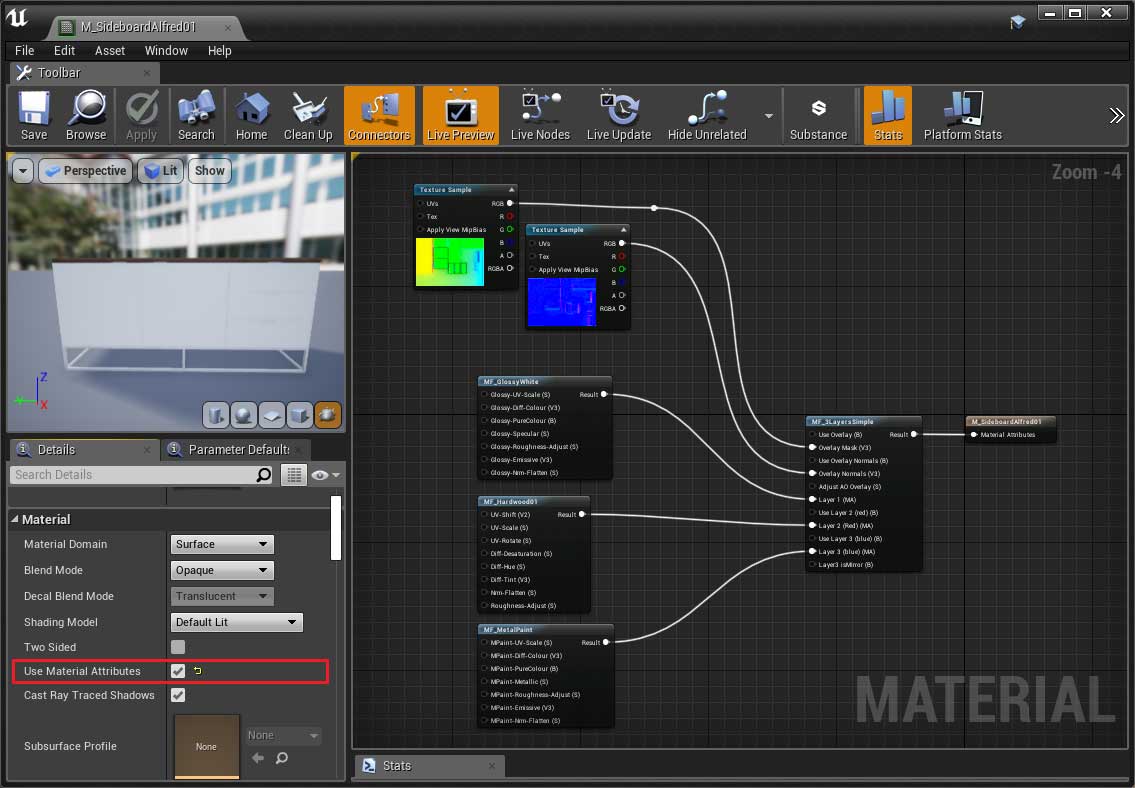
I am using functions to create my materials. I enable 'Use Material Attributes' for the new material.
The functions are not available by default in the unreal editor. You would need to create them first. They are created pretty much like normal materials but you can use them inside other materials. I explain function in another tutorial (tbd).
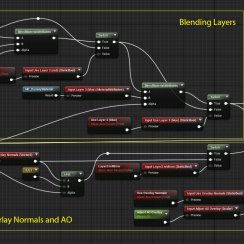
The main function (MF_3LayersSimple) adds the normal map and AO to the overall mesh as an overlay. It takes the green channel out of the mask for the AO and uses red/blue to mask out the 3 materials I am using for the sideboard
- black (no mask) = body, doors, drawers
- red = top bench
- blue = metal parts
I plug in a generic hardwood, a generic glossy paint and a generic metal paint function into the 3 layers.
That's all I have to do for now.
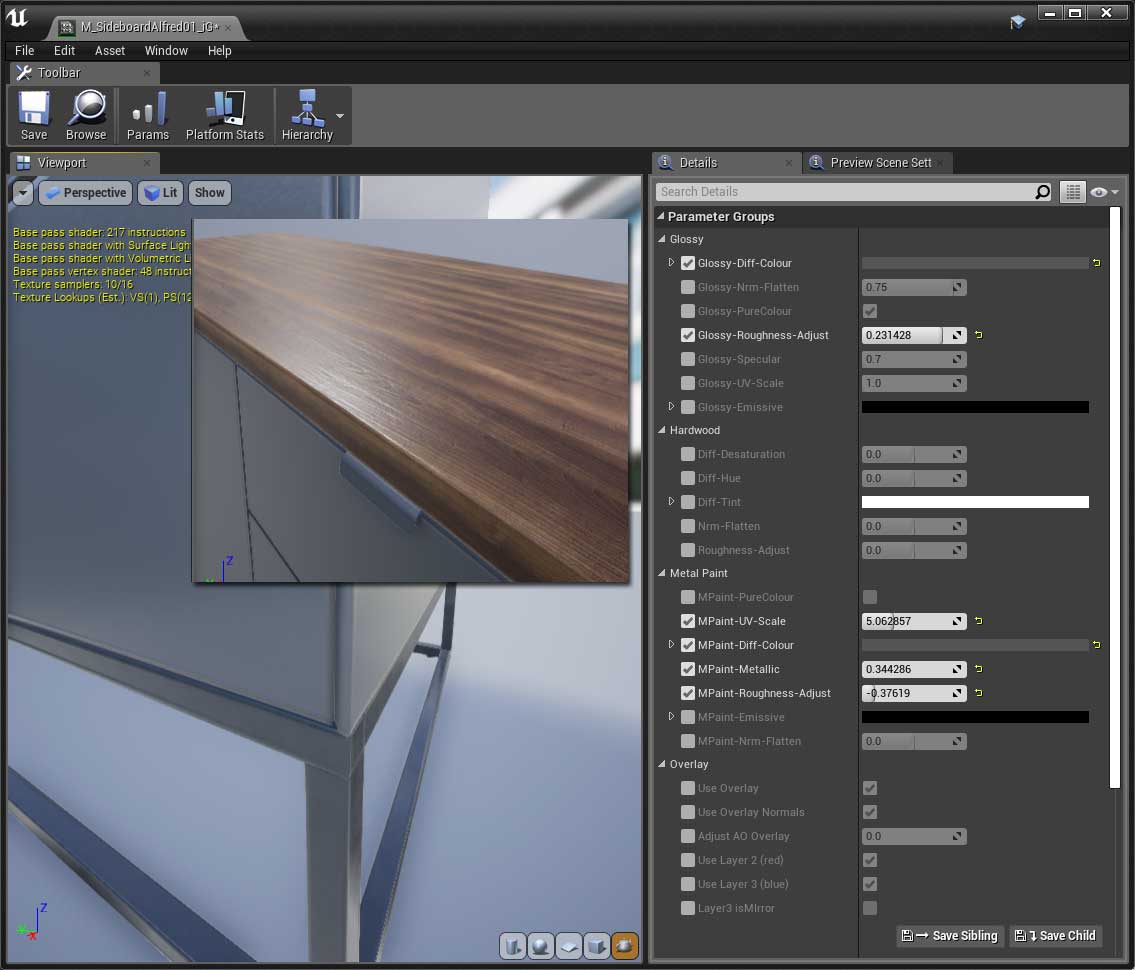
For the glossy material I change the color and increase the roughness as the material on the image doesn't seem to be that glossy.
For the hardwood I reduce the roughness quite a bit because the bench top seems to be polished. I also remove most of the detail normals to make the wood look smoother.
The metal paint gets a similar color than the body. I also tweak the metal value and roughness a bit.
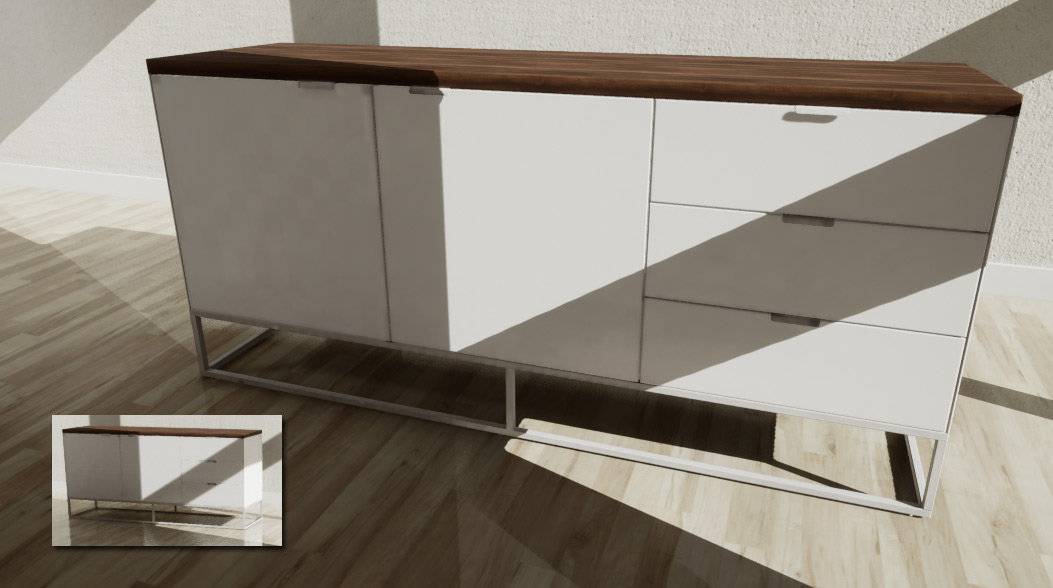
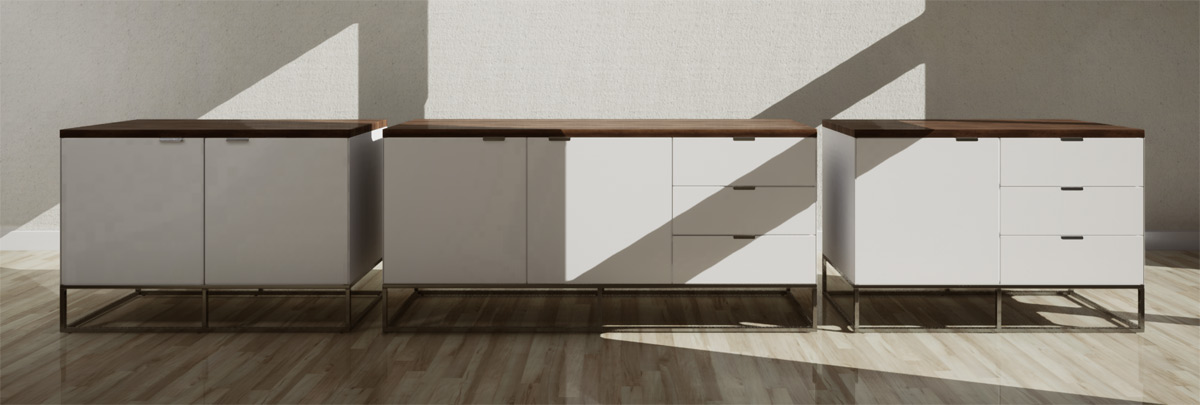
The sideboard has a lightmap resolution of 256 and this seems to be just not good enough for the white version. Darker textures or metallic surfaces are very forgiving and can hide little problems with the lightmap so the size seems to be ok as the default. Better to stay low and increase the size per instance if necessary.
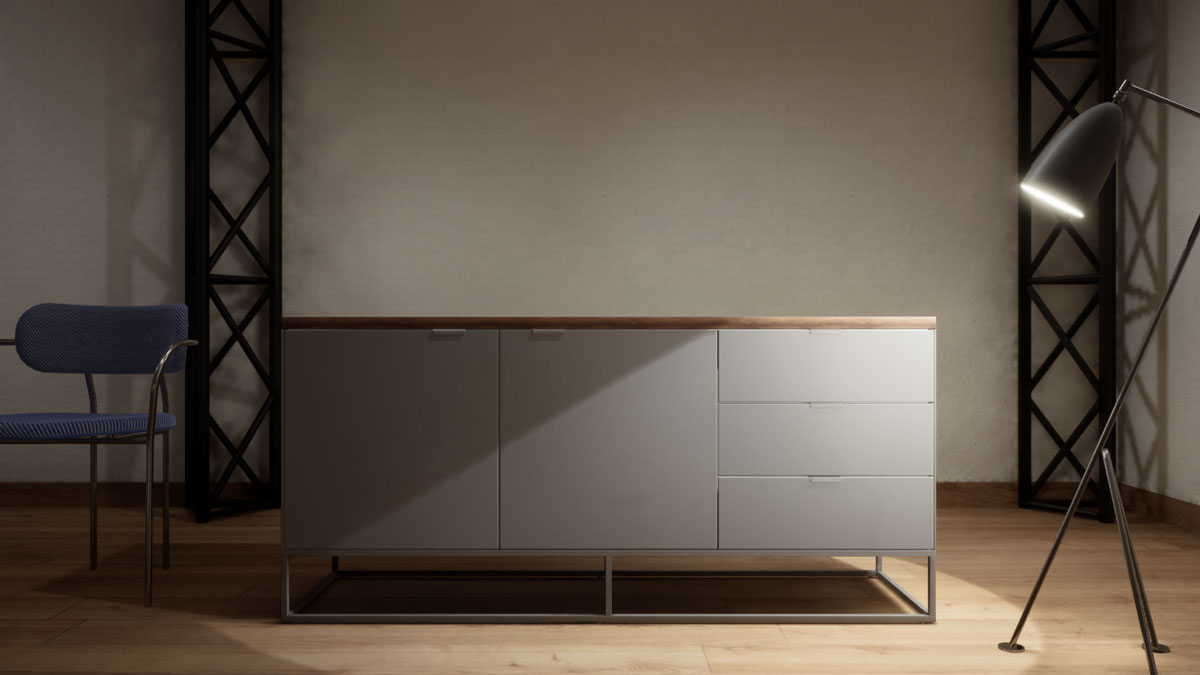
This image shows the sideboard in a challenging lighting environment. It has 2442 verts and 1 material ID and this instance has a lightmap size of 1024. In most cases 256 should be ok.
I have a library of functions that I can quickly plug into the material and create variations almost as fast as having a tiling material and multiple IDs.
Overall this sideboard probably would take around 5 hours to create including the material variations. This might seen a bit long but from now on its just drag and drop into a scene. Placing it and choosing one of the materials takes less than a minute.
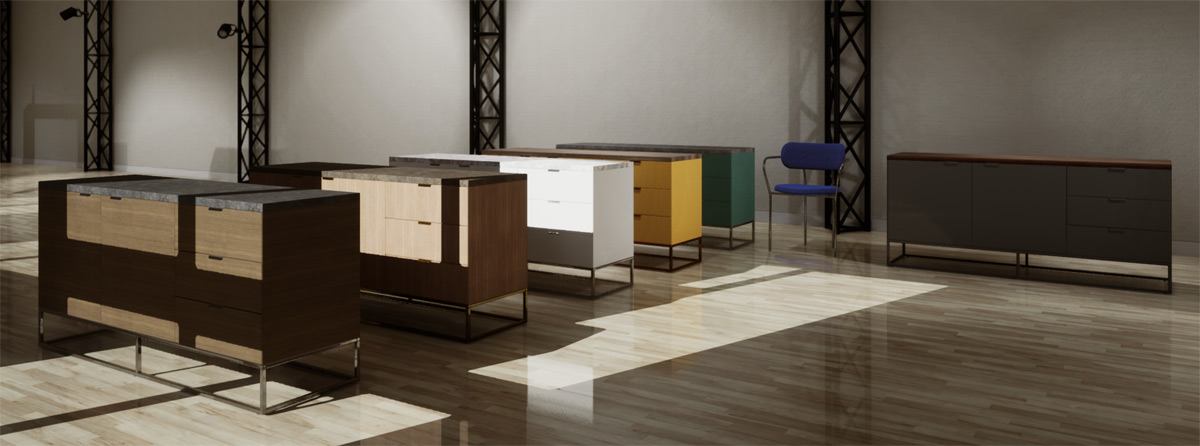
Variations
As both of them are gonna use the same material they need to be baked together. I moved the shorter one 150 units back.
The version with the 2 doors uses entirely pieces from the other 2 versions.
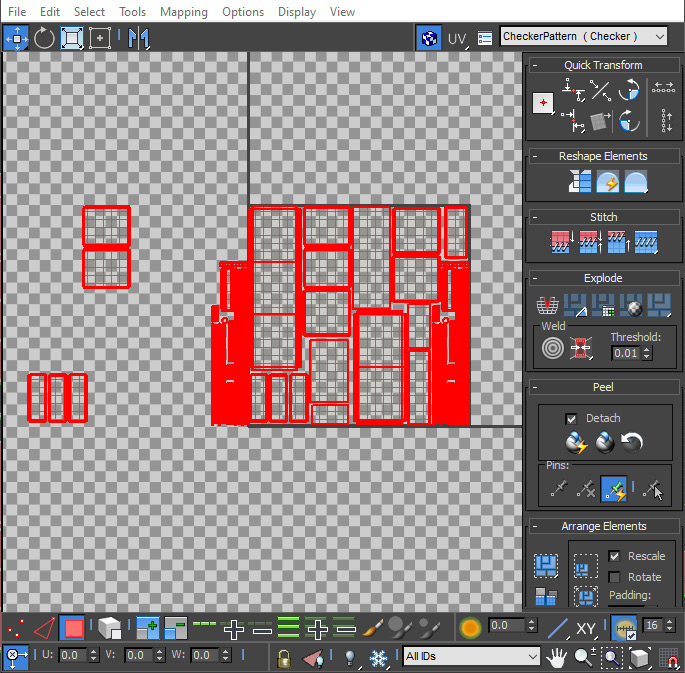
This is the combined shared UV map. I had to rearrange some of the original UVs so everything would fit.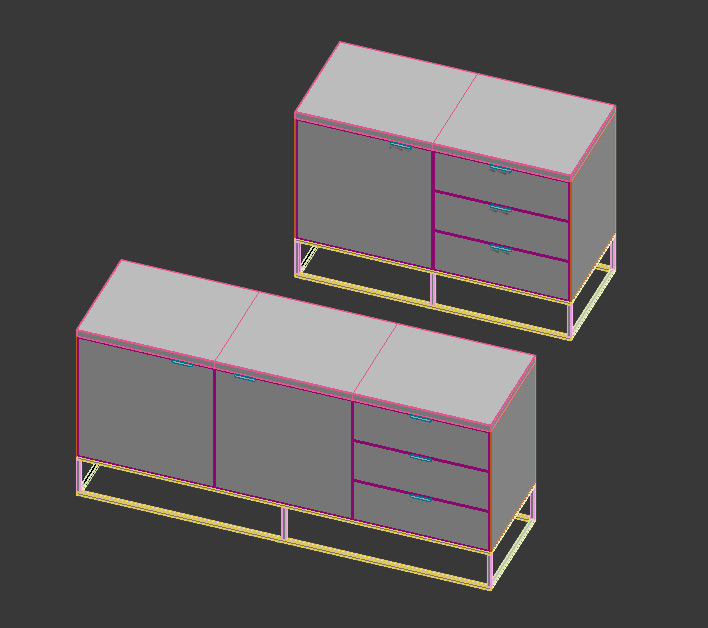
 Top of page
 More about material functions