Pages in Tutorials
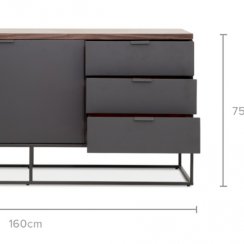
1: 3D Model
2: Baking
3: Import
4: Mat Functions
Modern Sideboard Part 1 - Modeling (lo&hi)
The first part of this tutorial shows how to create a low and high poly model for a modern sideboard.
Content:
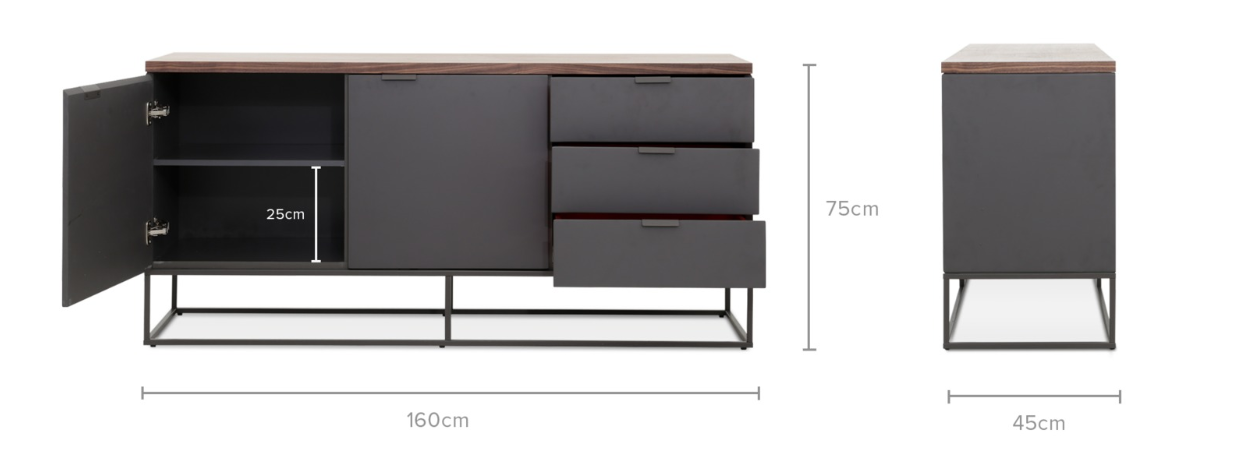
Goal of this tutorial is to make this sideboard as a low poly, high quality, realistic looking "baked" asset. Later we will do variations of this and add a layered material to avoid multiple material IDs.
Low Poly Model
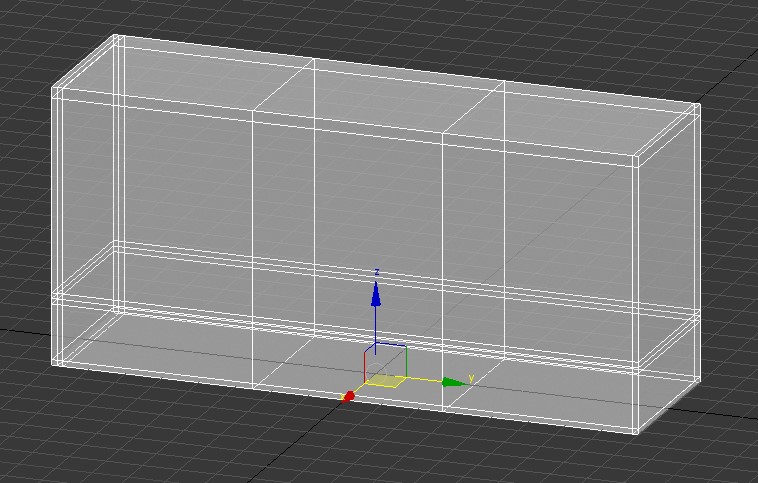
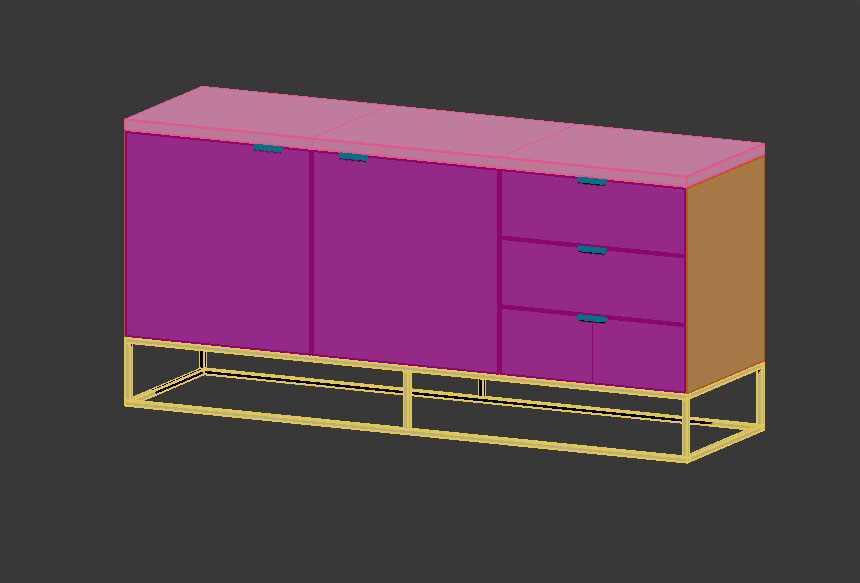
1 Unreal unit = 1 cm. Best to set your modeling program the same way. Also Unreal does not have a pivot itself. Instead the objects pivot will always be at the origin (0,0,0 position) of your modeling program. Any pivot set for the model will be ignored.First I created a box with the dimensions of above image. This is a reference for the individual parts of the sideboard. I added a transparent material to it to make it easier.
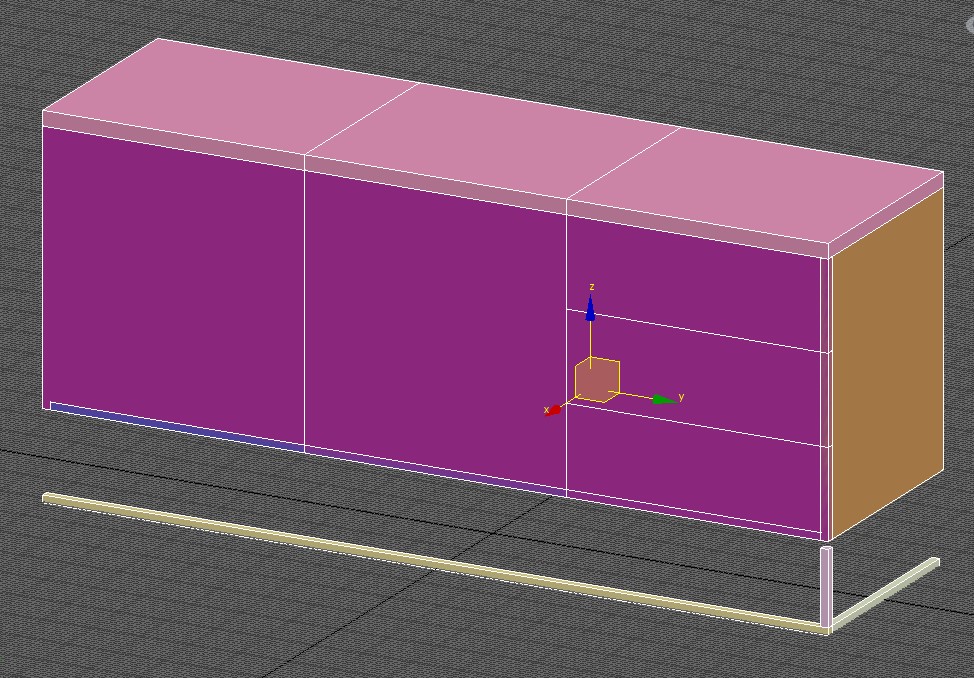
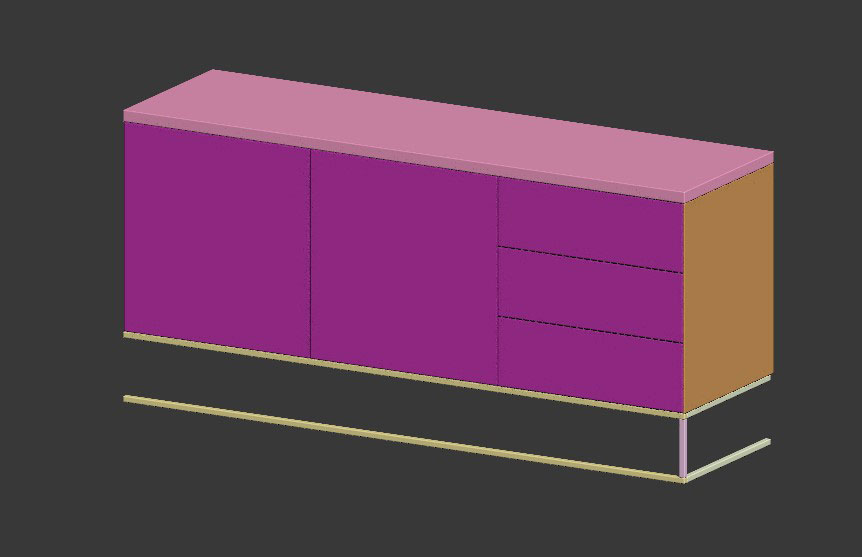
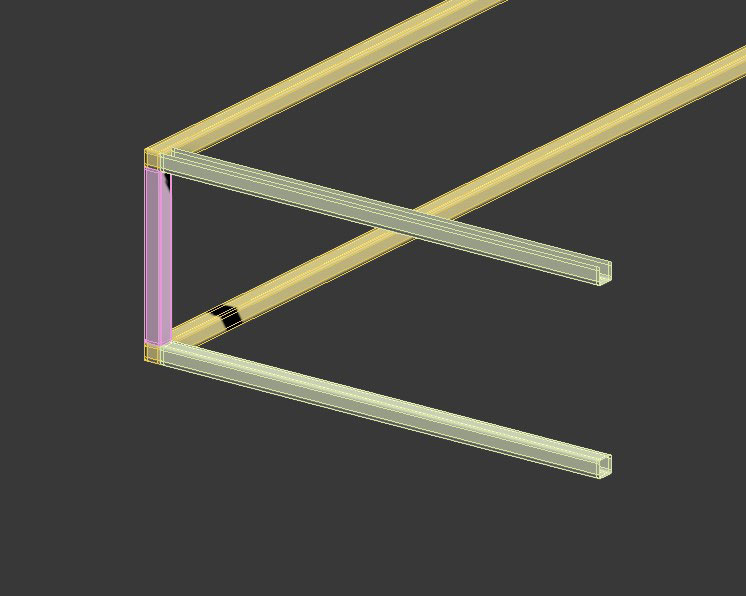
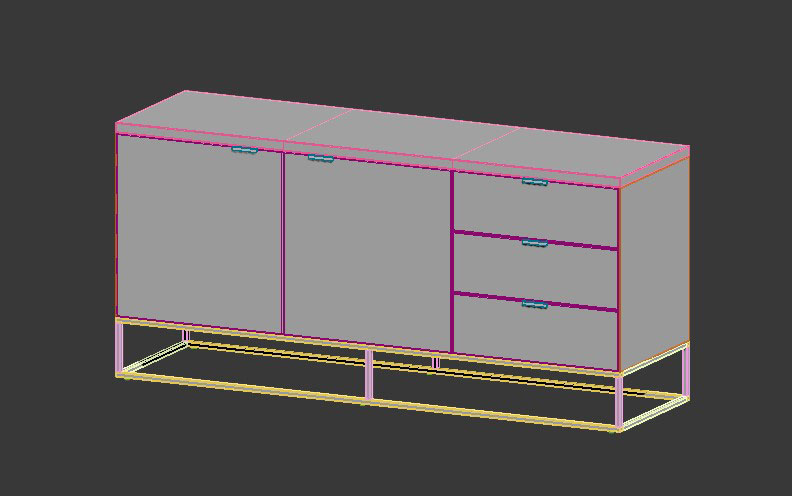
Then I sliced the top bench (30mm), the side boards and the metal structure (15mm). I'm using a grid of 1mm. All verts are snapped onto the grid. This is necessary to keep everything consistent. We don't want one board 14.3mm and the next one 15.7mm thick.
- the top bench
- one side board
- back board (not visible)
- bottom board
- two doors so they won't look the same for natural wood
- three drawers
- long metal bar, top and bottom
- short metal bar, top and bottom
- metal leg
Then I set the material ID and smoothing group of all polygons to '1'. The normal map will do the beveled edges. You could give the edges a simple one poly chamfer here but I found that it works the same with no chamfer at all.
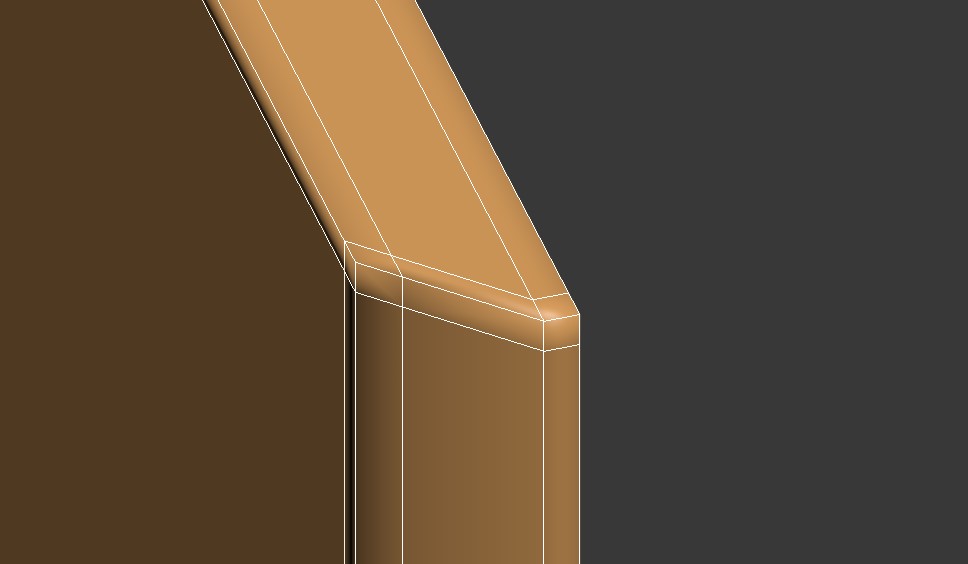
Later in the high poly model it's important to have the sliced edge a bit away from the bevel itself. The last polygons between the bevel and the flat side need to be 100% planar. Otherwise the side will appear bulged like a balloon. The baked normal map will try to normalize the slight angles between both sides. Instead of flat the side will appear a bit round.
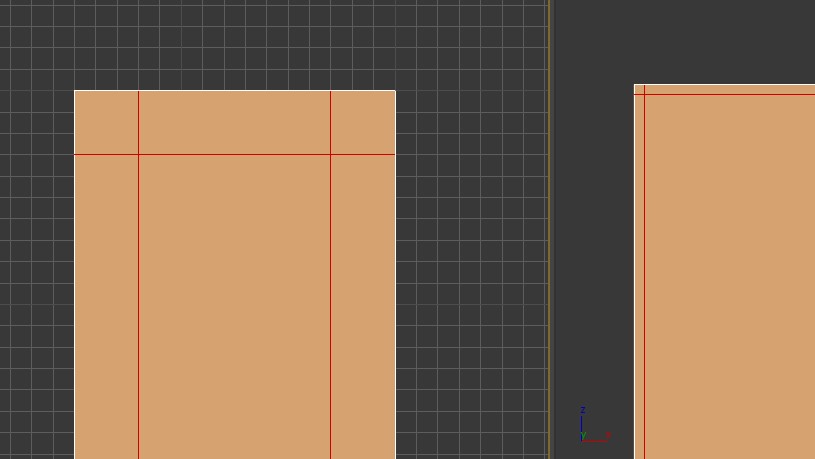
Again all polygons have the same smoothing group and the edges already seem to be round while the sides are flat.
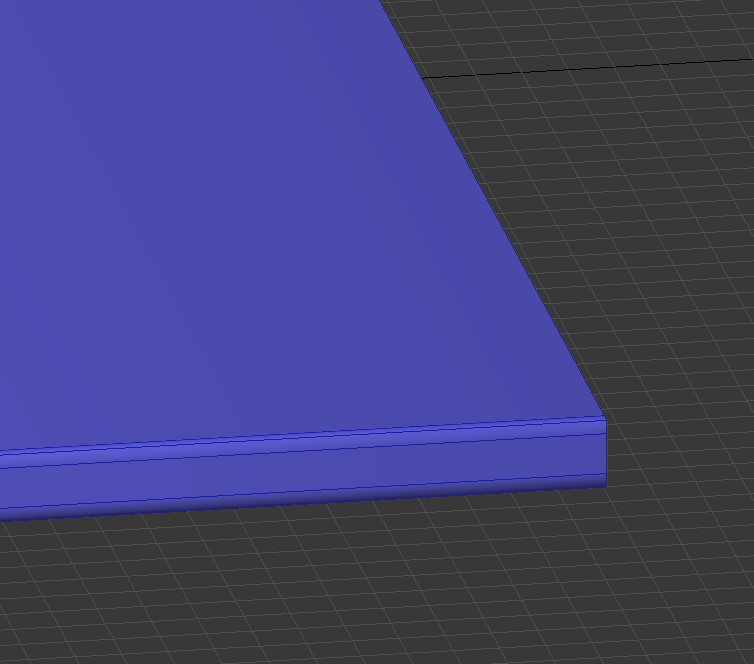
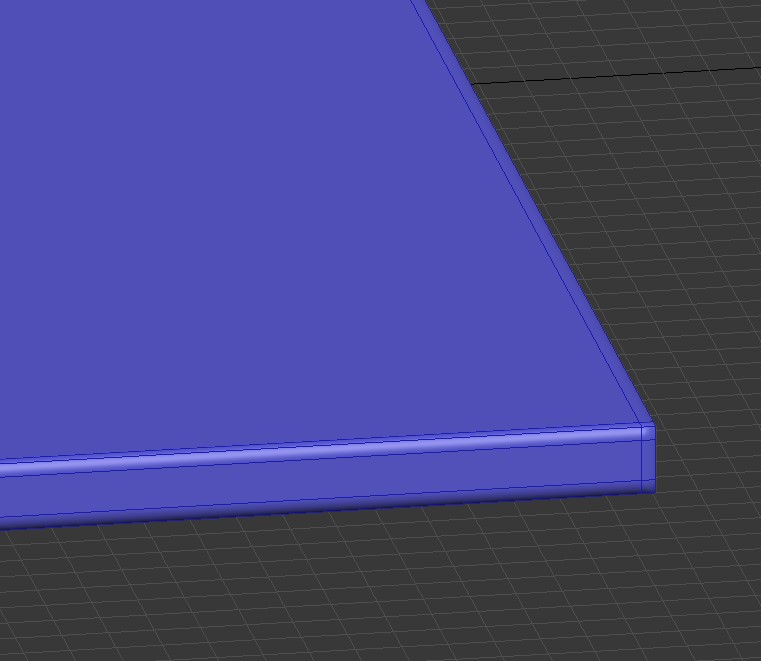
These pieces have 676 vertices together. For Unreal only the verts matter. The polygons are just the space between the verts. Adding any more verts to these objects wouldn't improve anything in their look.
Adding smoothing groups to any of the objects would increase the vertex count. Every smoothing group needs its own vertex. If all verts of a corner are in the same group then there is only one vertex for the engine.
If one of these objects was created from multiple smaller objects you would need to give them the same material. Then select all polygons and give them the same ID and smoothing group and then finally merge them together so your modeler doesn't create extra verts. Same if you would split some parts into elements then those need to be merged back into one element.
UV Mapping
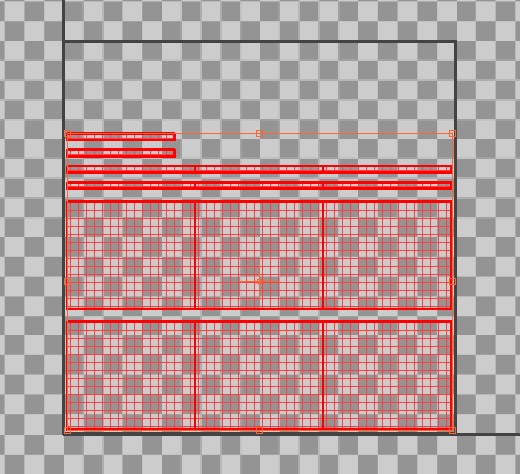
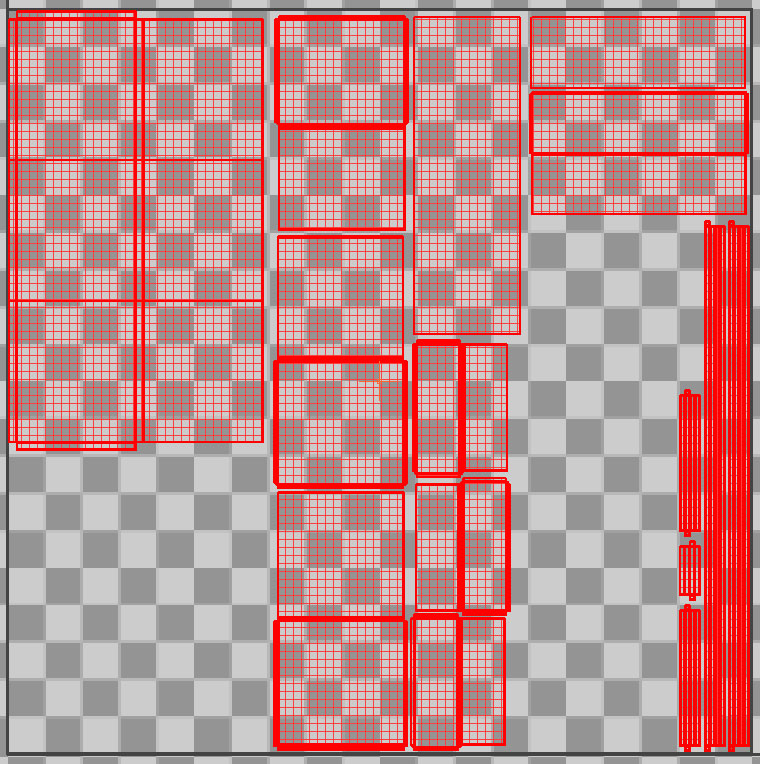
The bench top is just a simple box so I start with this. This is highly dependent on your modeling program so I have to keep it fairly general. First I flatten the UVs. This is what we could use for the lightmap.It only takes a few seconds to stitch those islands together into one bigger island. I start with the top polygons and stitch everything to them. This makes sure that the visible edges are more likely to be stitched together.Thinking ahead we will make another shorter version of this sideboard. So I keep enough space for the UVs of the shorter version underneath.
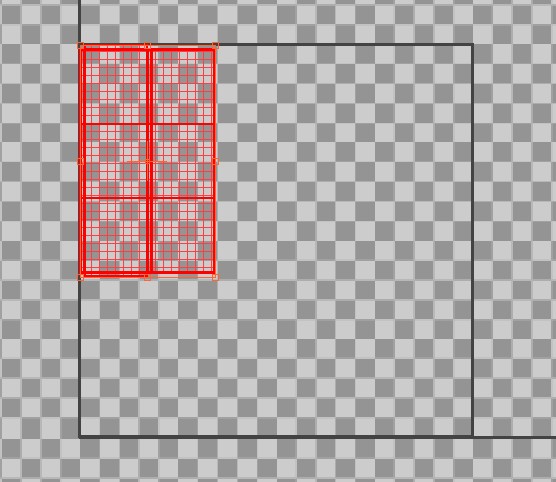
I UV-ed one of drawers and then copied that mesh to the other 2 drawers. It's faster than adding the UVs to all of them.
It's always a good idea to apply a checker material during this phase and see how the scaling is.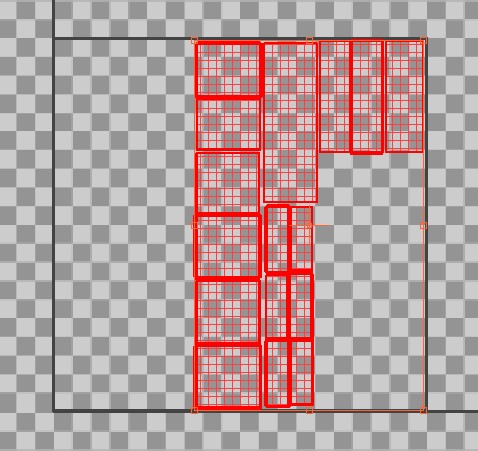
Some of these polygons are not visible so the layout will change after I will have optimized the sideboard. There needs to be some space for the variations as well.
The 2 islands on the top right are from the bottom board and the board that is inside behind the doors and drawers. Those are barely visible so they don't need to cover that a lot of space on the chart.
Below on the right side are the metal bars. We will need some more there but they don't cover much space.
In 3ds max you are probably used to work with a stack of modifiers. This does not go well with UV mapping. I highly recommend before you do anything on your UV layout you collapse the stack. Otherwise those manually stitched and modified UV islands will for one reason or another just disappear after a while. Then keep collapsing especially when you select more than one mesh together and add one Unwrap Modifier to them.
Exporting FBX
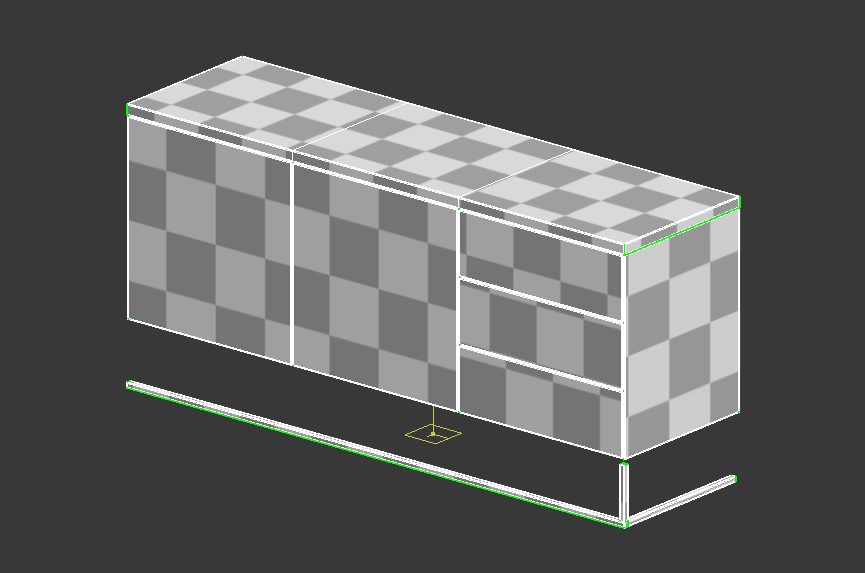
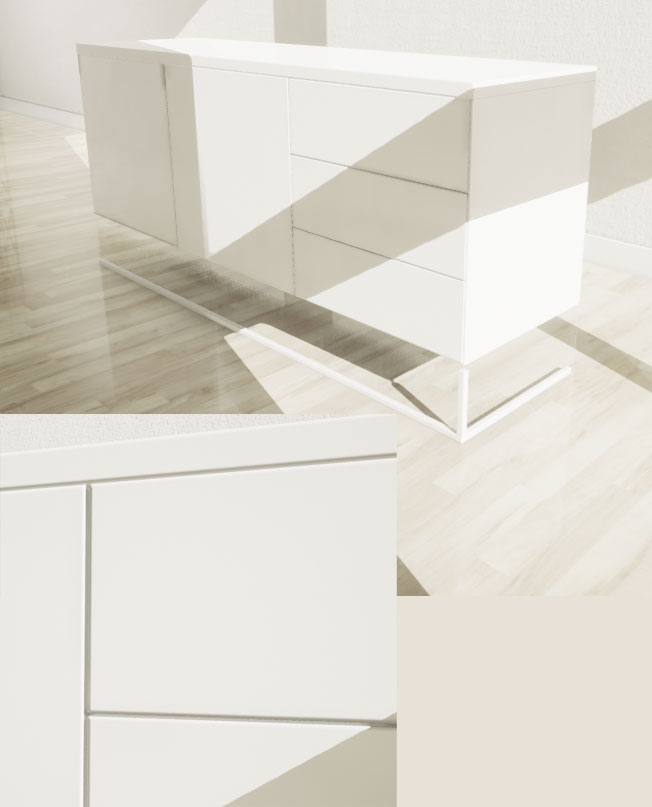
The edges look round even without a normal map. Overall the asset looks like it should.This is a production light build and it looks good enough for now. The lightmap resolution is too low but that will change anyway. It's always good to use a plain white material to test it.
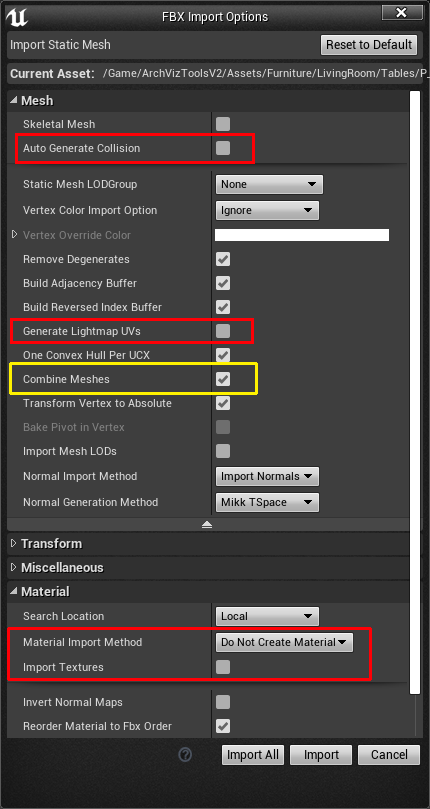
When you import an FBX mesh for the first time you need to change the 4 red marked settings. The yellow marked "Combine Meshes" needs to be ticked for this case to combine all pieces into one mesh.The settings will be stored as default for the next time you import a mesh.
When you export the mesh from your modeling program you need to make sure that you export the tangent normals and the smoothing groups.
High Poly Model
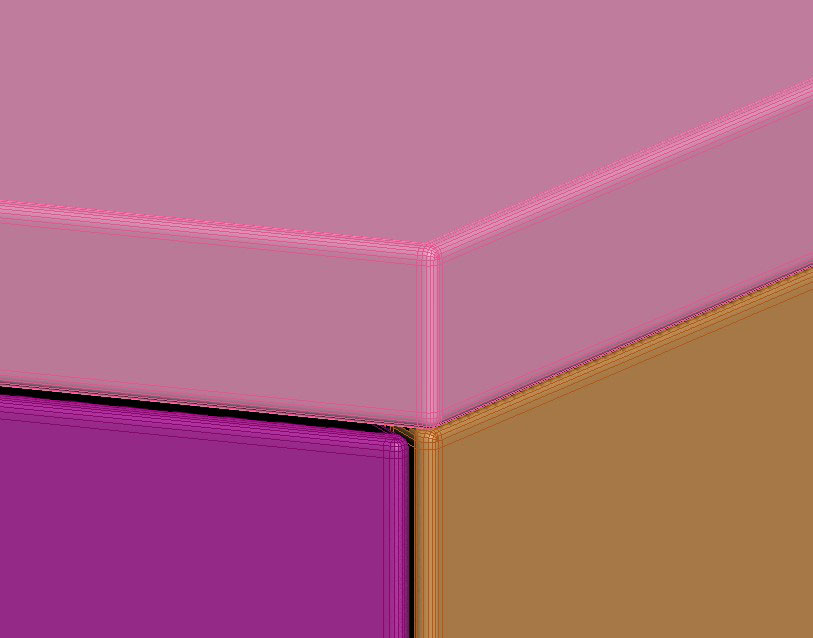
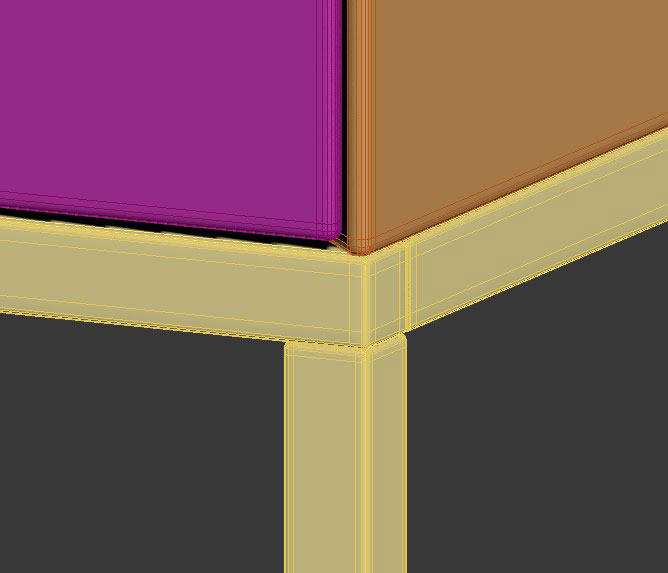
I copied the low poly models in the modeling software to a high poly folder. Then I added a chamfer to all actual edges. Making sure similar chamfers have exactly the same dimensions.- all doors, drawers and the body: 4 segments, 0.18 cm
- metal bars: 4 segments, 0.10 cm
- bench top: 5 segments, 0.2 cm
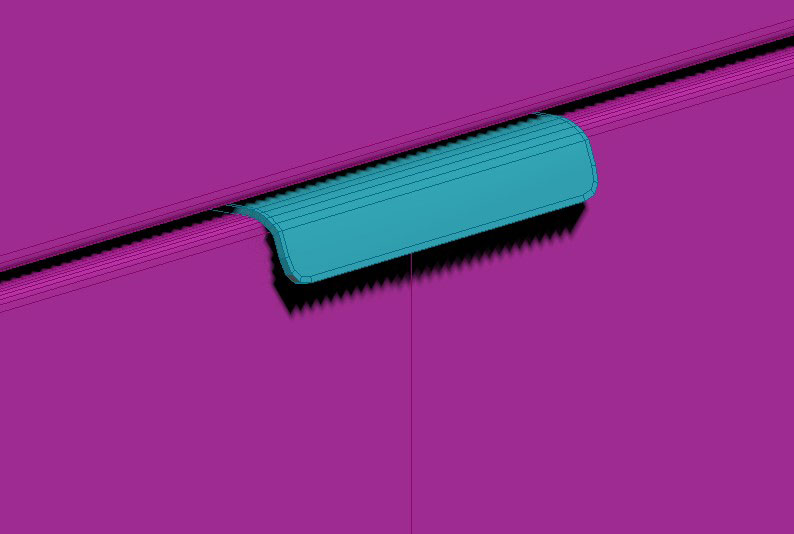
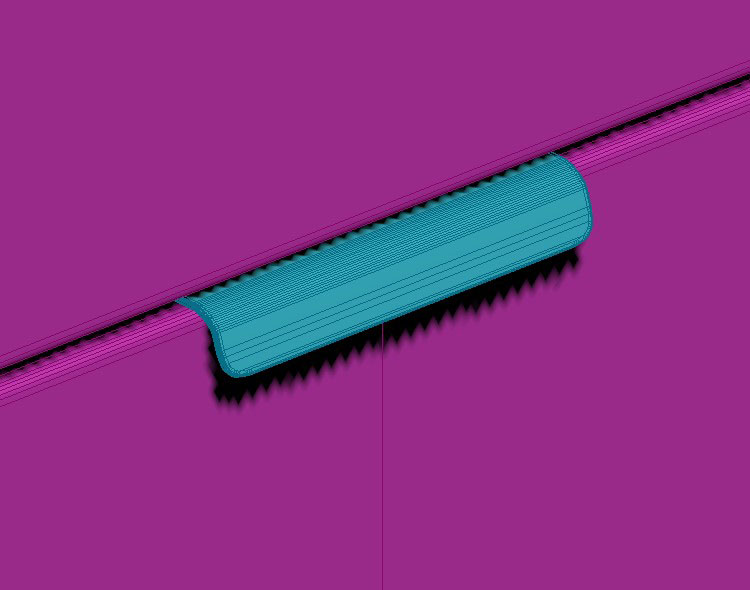
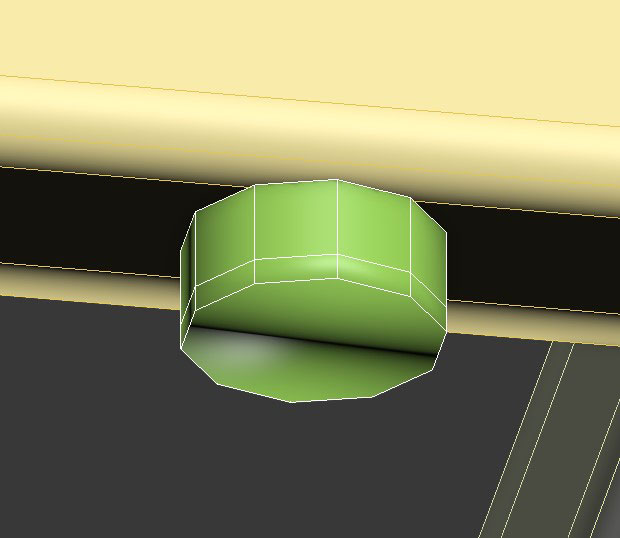
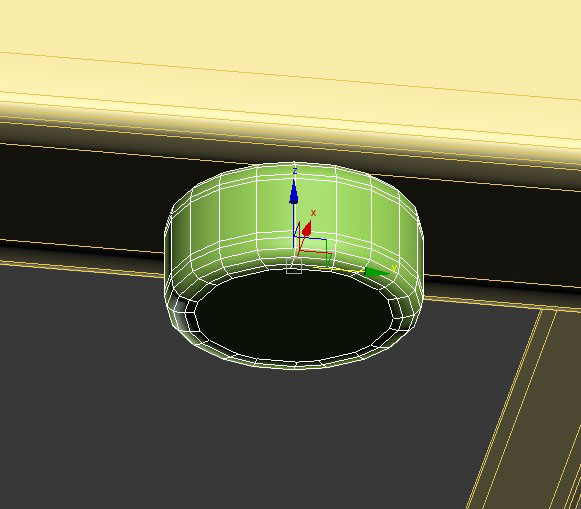
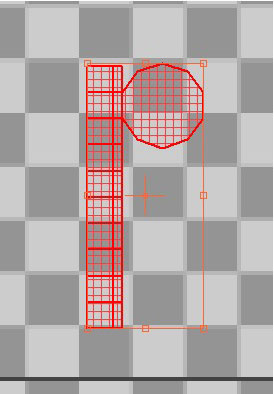
The next images show the low and high poly model of the rubber and how I unwrapped it.
Optimization (Geometry)
I carefully selected all polygons that are never visible and deleted them. These are mostly the poygons inside the sideboard.And the parts of the metal bars that touch each other.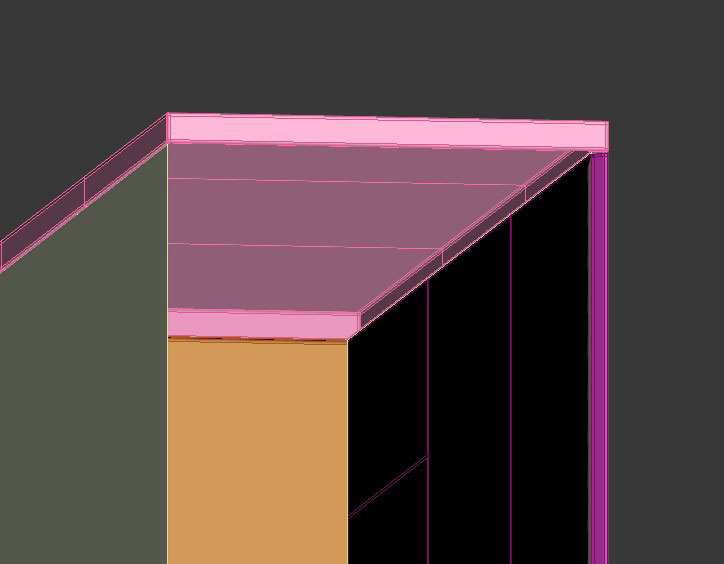
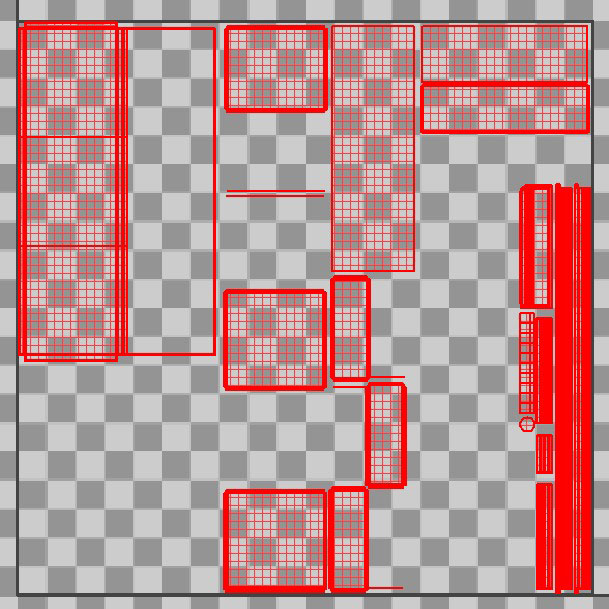
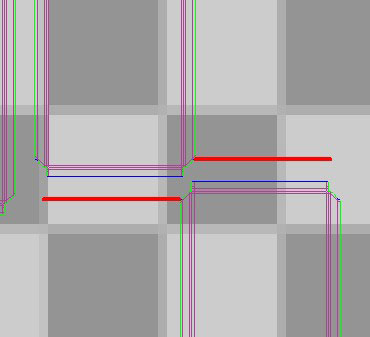
As I will use tiling materials withing the masked out areas the size of the islands here only defines the detail of the normals and AO. The resolution of any of the tiling textures can be much higher than the mask is. I will use 2048 x 2048 for the mask, the normal and the AO. The wood texture may get tiled 4 times so effectively the wood part's resolution equals a texture of 8192 x 8192.
Lightmaps
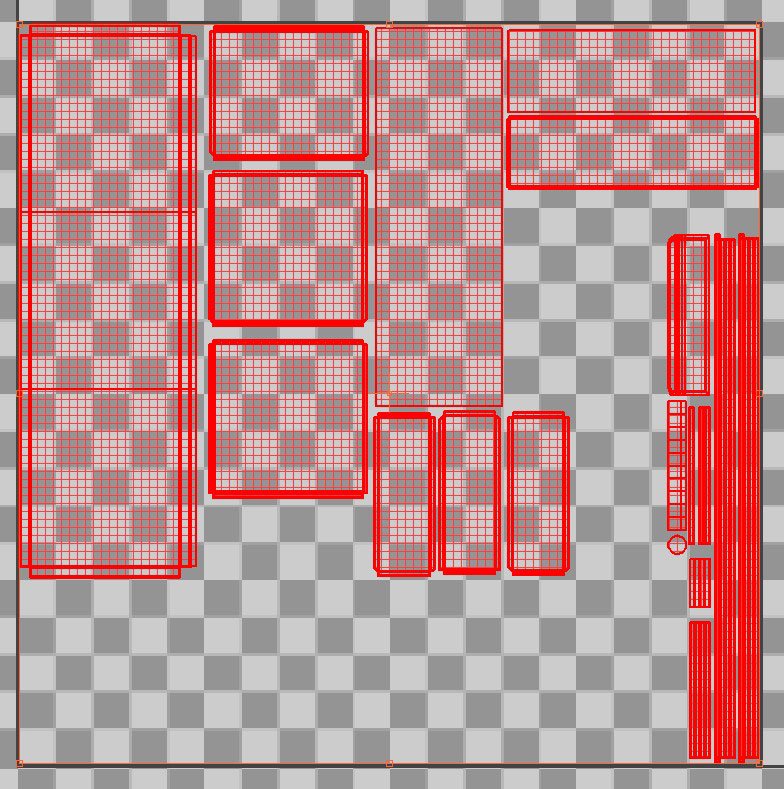
For the lightmap I select all boxed shaped pieces and flatten them. It should look something like that. Don't worry too much about wasting space here. We will rearrange the islands in Unreal.Collapse the stack in 3ds Max to make sure you don't accidentally modify the main UV and then add a new Unwrapping modifier and move the UVs to channel 2. Then apply Flatten .
The handles and the little rubber feet can stay as they are but they need to be copied to channel 2. Collapse -> add new modifier -> copy UVs from channel 1 to 2.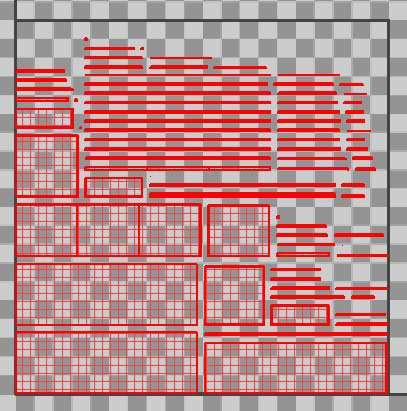
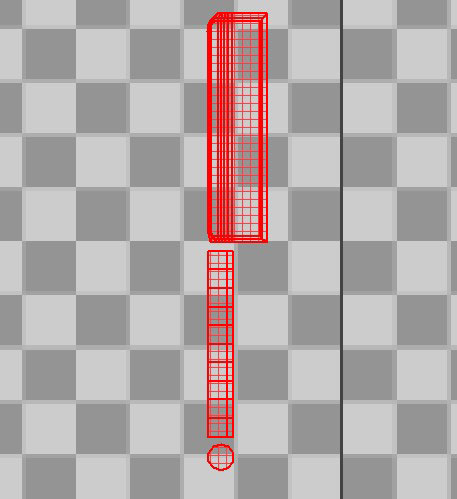
Preparing Baking
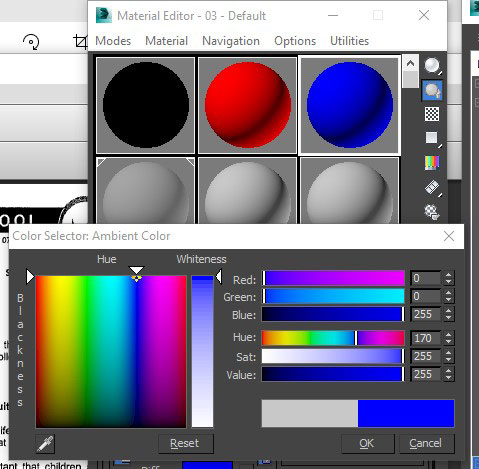
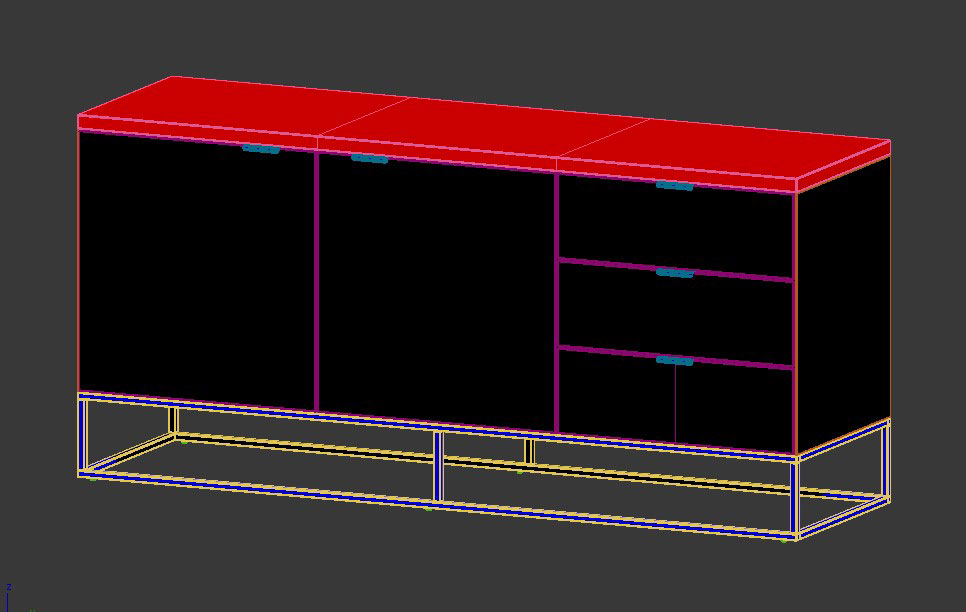
Now I create 3 materials. They are 100% black, 100% red and 100% blue. This is very important for the mask to work proper. I apply those to the high poly object. We will bake the mask off the high poly pieces using Substance Designer.- Black for body, doors, drawers
- Red is for the top bench
- Blue is for the metal parts
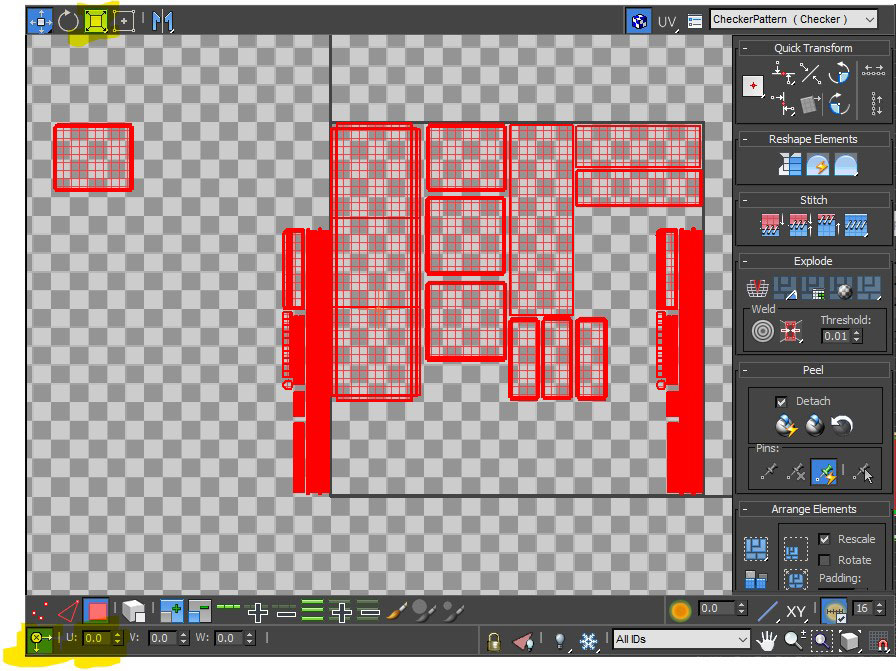
So I select all elements I copied before and move the islands "1" to the left. Make sure the 2 icons I marked yellow look like this. Then type "-1" into "U" on the bottom of the UV Unwrapping Tool (3ds Max).
 Top of page