Pages in Tutorials
1: 3D Model
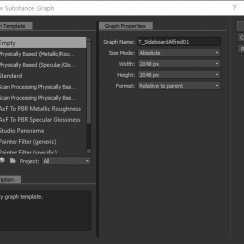
2: Baking
3: Import
4: Mat Functions
Modern Sideboard Part 2 - Baking
This part shows how to bake the textures for a low poly model from a high poly model in Substance Designer.
Content:
Baking Setup
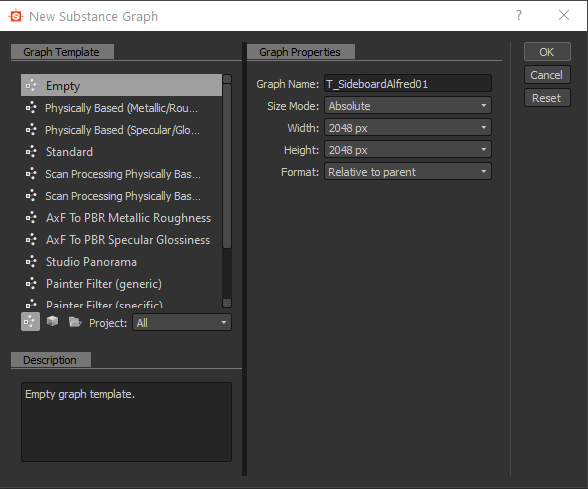
I use Substance Designer for baking my assets. But I am not doing anything extraordinary so you should be able to follow this tutorial in most common bakers.Create a new substance. This will create a new Substance Graph. The name of the Graph will be the name of the texture later on. So I call it T_SidboardAlfred01
I set the width and heigth to 2048, my desired texture size. Of cause I could go 4096 here but keep in mind that 4096 is 4 times as big as 2048. You may have a kick as video card with lots of memory. But not every client will have that too. So my approach is always a bit on the conservative side. If it doesn't look great at all I can always go higher.
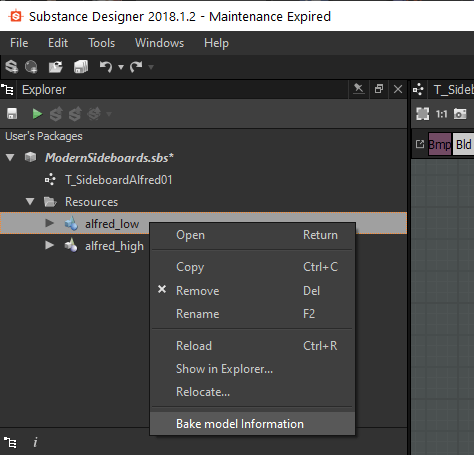
Right clicking on the Resource 'alfred_low' will open a context menu. On the bottom is 'Bake model information' which opens the baker window.
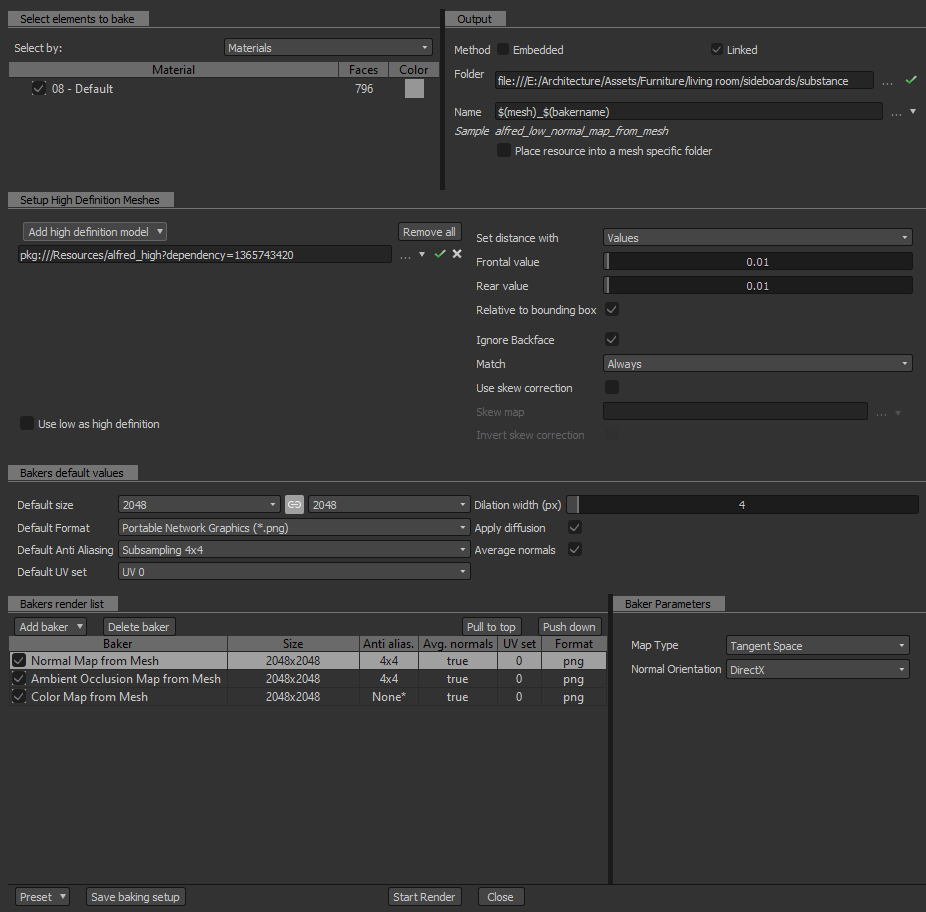
Select elements to bake
Make sure all your assets are selected, especially when adding meshes and rebaking
Output
Select the working folder for the raw baked textures. These are not the textures that will be used in Unreal.
Setup High Definition Meshes
Add the high definition model - high poly mesh(es) 'from Resources ...'
Bakers default value
I set the Anti Aliasing here to Subsampling 4x4 here for the final bake.
Bakers render list
Add bakers to the list here. Start with the 'Normal Map from Mesh'.
Next is the 'Ambient Occlusion Map from Mesh'. In the Baker Parameters I set the Normal Map to 'Previous Baker > Normal Map from Mesh'.
Finally add 'Color Map from Mesh' and set the Color Source to 'Material Color'.
You can hit [Start Render] when you're finished.
Substance Nodes
Now the three bakers appear in the Resources folder under 'alfred_low'. I'll drag them into the main window.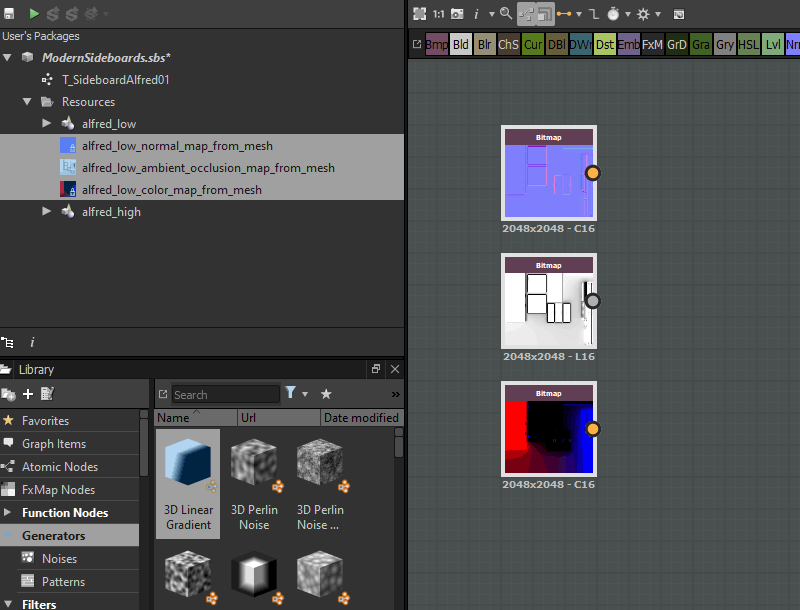
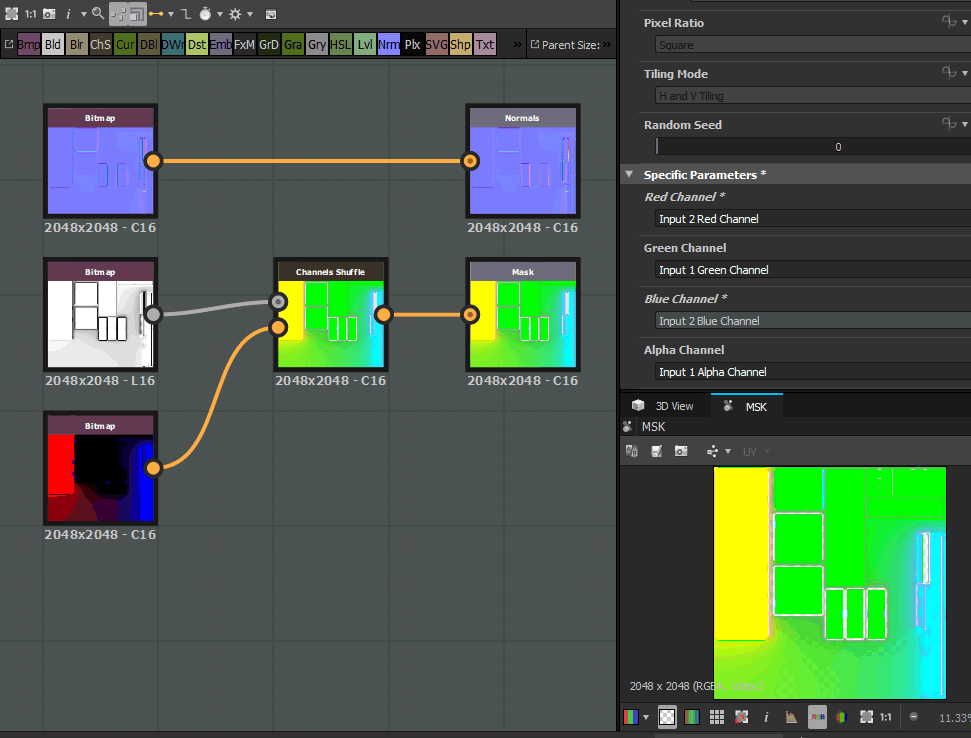
- NRM for the normal map
- MSK for the mask
The identifier will be added to the graph name for each texture during export. So I use suffixes I will use in Unreal.
The normal map goes straight into the output.
The other 2 textures go into a 'Channel Shuffle'. I basically create a texture combining 3 black and white masks into one RGB mask.
- The green channels is for the AO.
- The Red and Blue channel are for the material masking.
The green channel has one bit more apparently so its best to store the most precise map (AO) in there.
Check the parameters on the right of the image for the Channel Shuffle's settings.
Exporting the Baked Textures
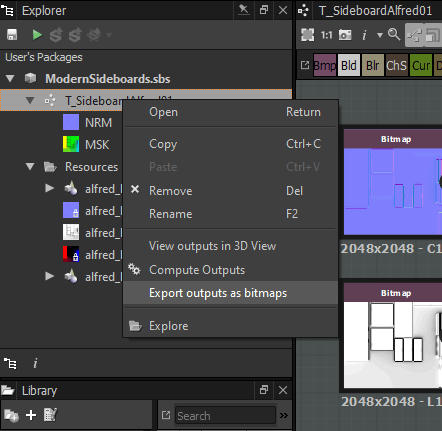
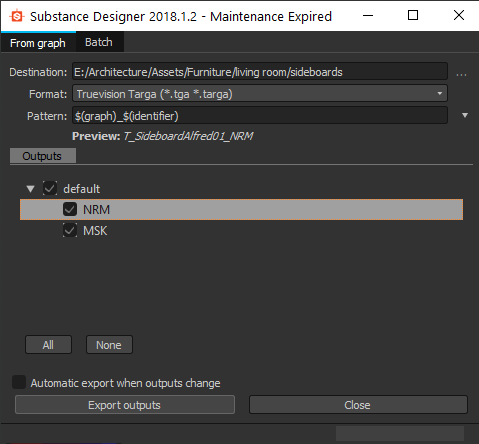
Right clicking on the Graph name in the Substance Explorer will give you a link to open the Export Window.I set the Destination to the export directory I have the static mesh saved in. This is not the working directory all the other files are in. I like to keep those files separated and have one directory for the files that go into Unreal and another folder (or more) for the working files.TGA is the best format for textures in Unreal.
Hitting [ Export outputs ] and I am done in Substance for now.
 Top of page