Table Of Content
New in 2026
Quick Guide
Video Guides
Getting Started
UI Design
Var Actor
Edit Scene
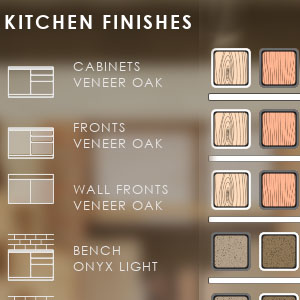
Designer
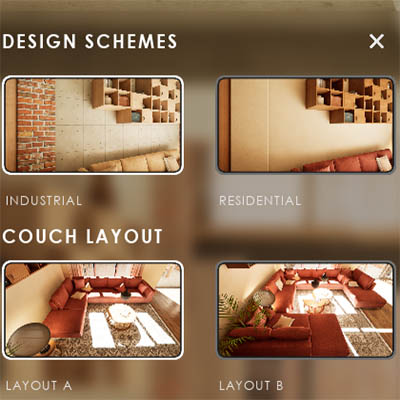
Feat. w. Preview
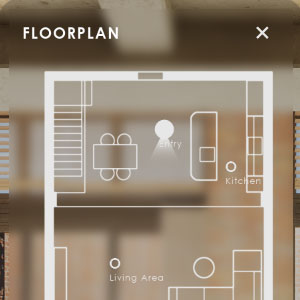
Other Features
Modes
Blueprints

Cost Reports
Multi-Unit-Prj
Google Sheets
FAQ & Tips
Fix Bugs
Updating
Version History
Variation And Object Info Actors
The Variation Actor is the link between the User Interface and the Assets in the scene, so they can be edited.
The Object Info displays information without editing.
Content:
Variation Actor - General Settings
Variation Actor - Variation Groups
Variation Actor - Choices Buttons
Video Guide
A Video Guide about the Variation Actor
This video is made for the 2025 version of UI3. Most of the information is still useful. It will be updated.
Settings in the Variation Actor may be in different locations or named differently. The Mesh and Material can now be changed independently from each other.
 Documentation Archive 2025
Introduction
Variation Actor
UI / Blueprints / BP_SDotUI3_Variations
This actor is the link between the UI and objects in the scene. It can hold the data to change the materials or the mesh of the linked scene object.
Object Info Actor
UI / Blueprints / BP_SDotUI3_ObjectInfo
This actor is very similar to the Variation Actor. It can hold the information for a scene object without being able to modify it.
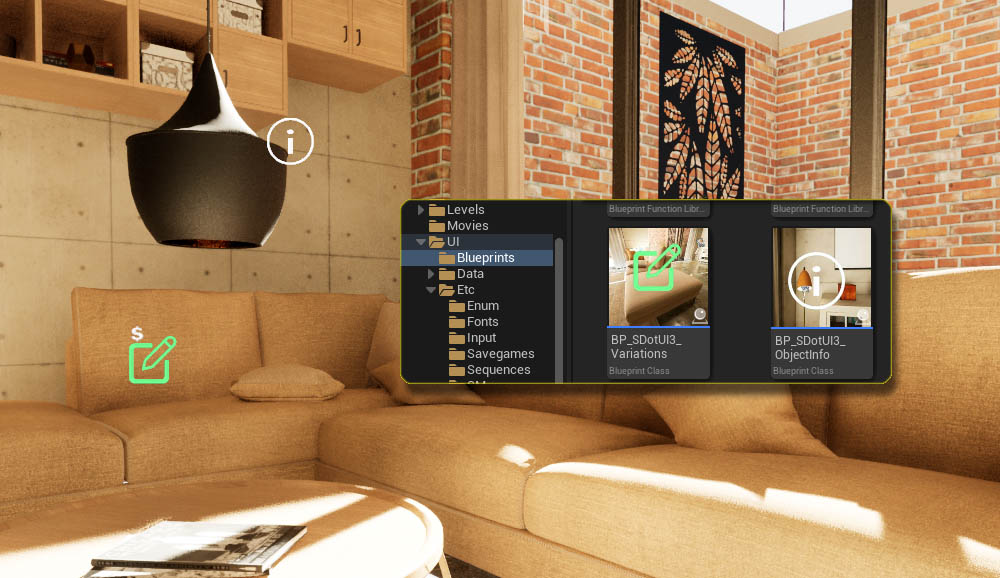
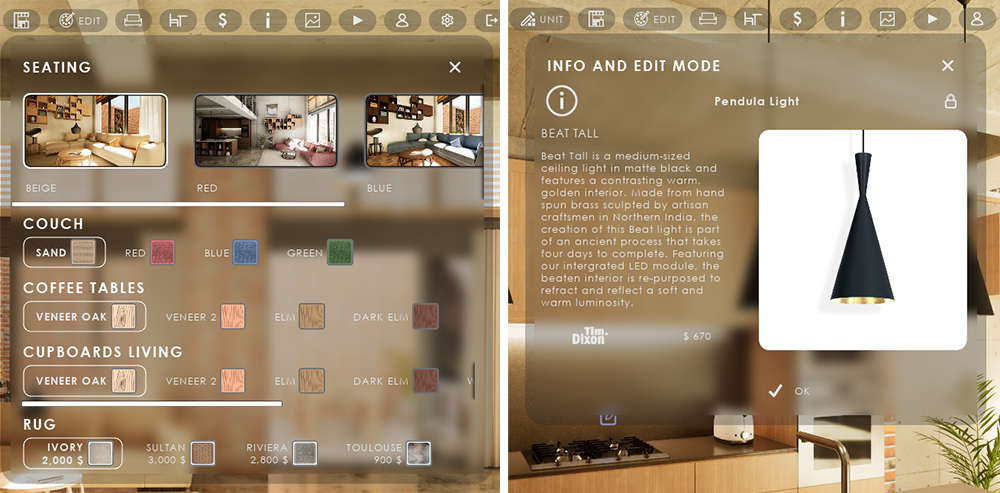
Editing Features
The Variation Actor is necessary for the following UI features:
- Edit Mode single object editing
- Design Schemes editing multiple objects to change to a scheme
- Variation Groups editing a group of objects
- Designer Mode editing a group of objects in a table mode
Object Info
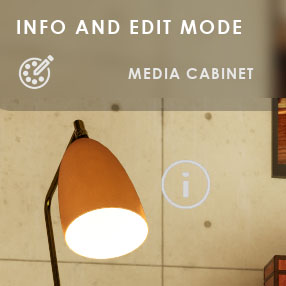
The Object Info is used with the Edit Mode feature. It can show detailed information about the object.
It's also been used to display and select a unit in a multi-unit building.
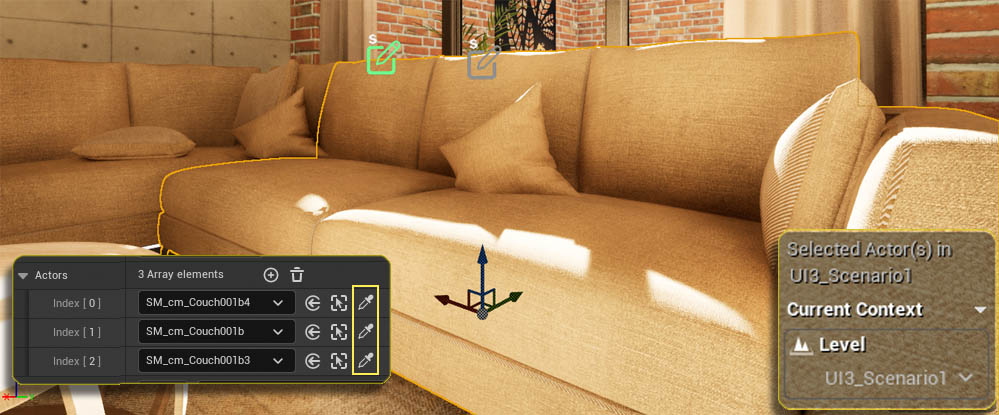
Variation Actor - Placement
Select the scene object and then press the key [M]. This will make the level the object is in the current level. Variation Actor and scene object need to be in the same level.
Assign Scene Objects
Add an array element to the Actors array. Then use the eye-dropper icon to link the object to the Variation Actor.
Multiple objects can be linked if they share the same materials or mesh that the user should be able to change.
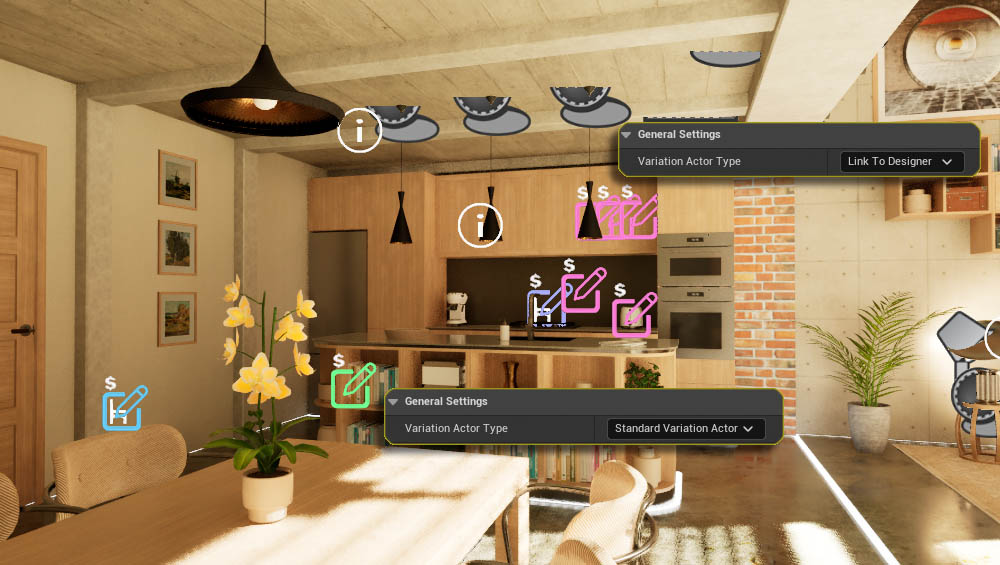
Variation Actor - General Settings
Variation Actor Type
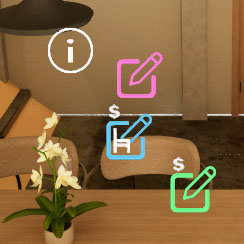
The type needs to be set first. The billboard icon will change color.
- Standard Var Actor (default) for editing and design schemes
- Standard Var Actor (default) with mesh changes
- Listens to other VA (Child) changes from another parent actor
- Parent Actor only Doesn't change anything directly. Sends tag to trigger other "child" actors
- Link to External Actor Sends the tag and ID to an external blueprint
- Link to Designer Controlled by the Designer Widget. Link with the same 'Tag' name.
- Configuration Error Check actor for missing data
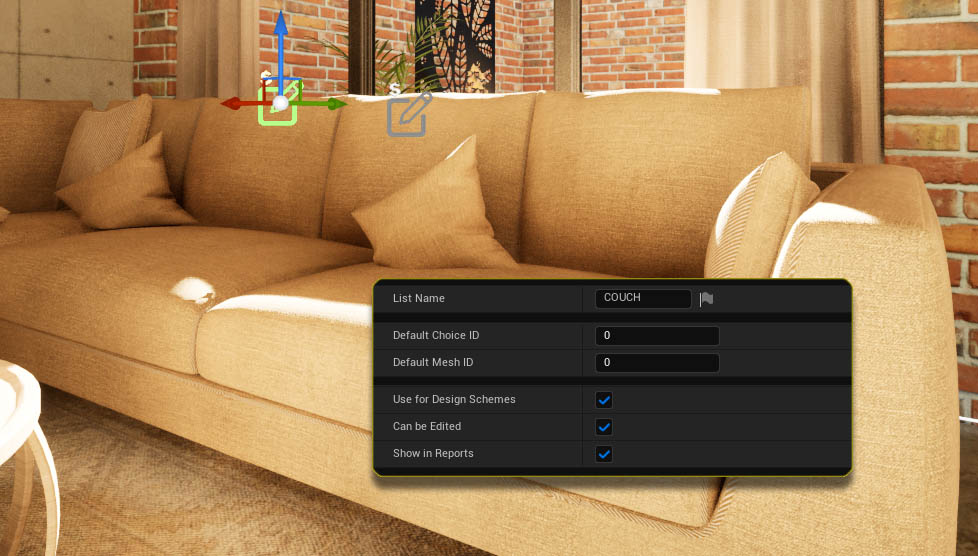
List Name
The name that identifies the assets in reports and widgets.
Default ID
The default IDs will be loaded at the app start.
- Default Choice ID will set the linked assets (material) choice.
- Default Mesh ID will set the linked assets mesh choice.
Usage Flags
- Use For Design Schemes Design Schemes will set choices of this actor
- Can be Edited Can be used in Edit Mode
- Show in Reports Choice will be printed in lists and reports
Variation Actor - Datatables
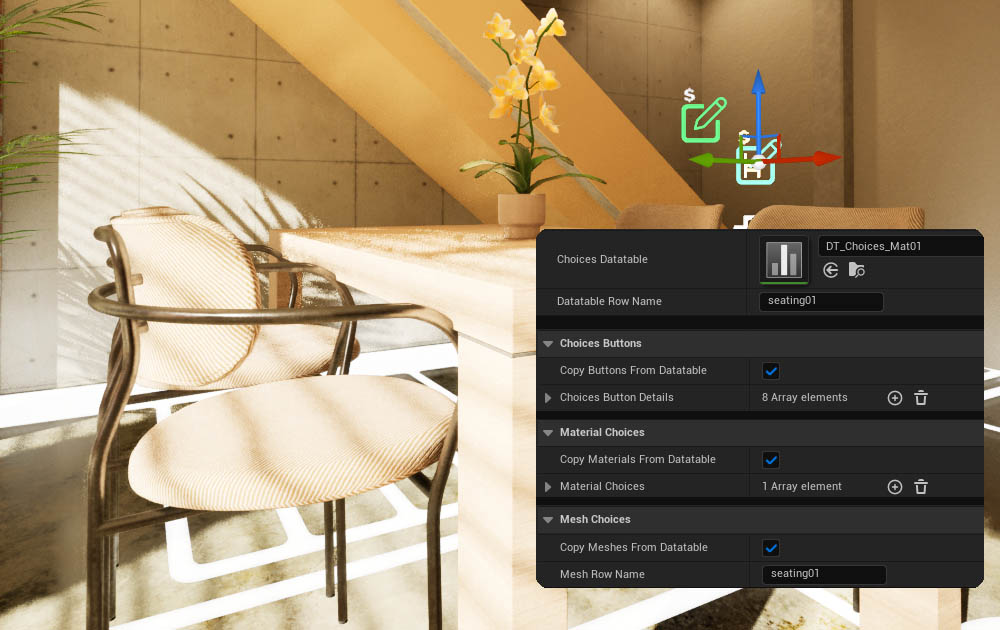
Choices Datatable
A data table can be linked to fill the choices data instead of entering it manually.
Datatable Row Name
Name of the row the data should be taken from
Mesh Row Name
Name of the row the data for mesh choices should be taken from
Copy * from Datatable
Ticking the box will copy the data from the data table to the actors array.
Un-tick the box if you want to make changes to the copied data.
Why using Datatables?
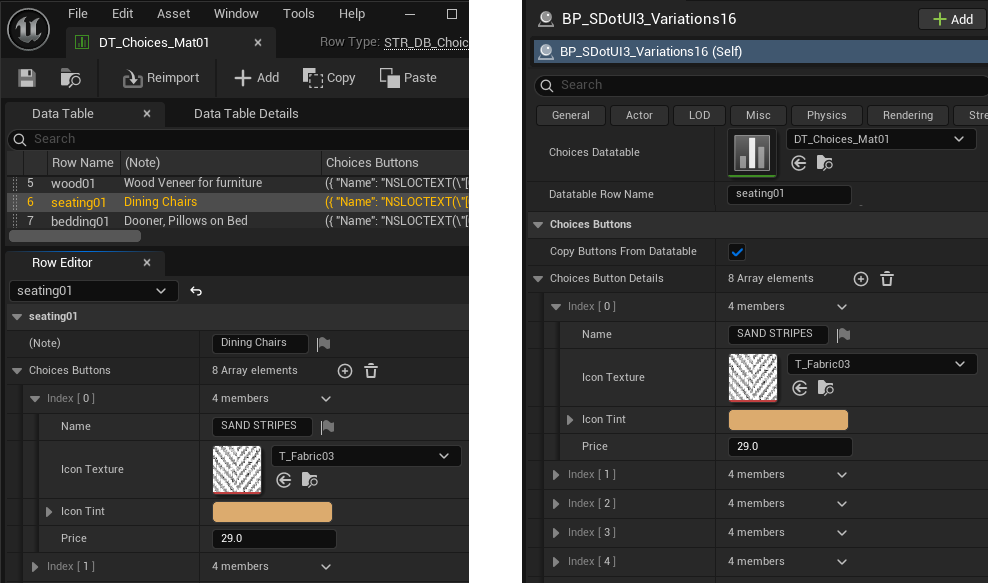
Using data tables is optional. Data can still be entered directly into the Variation Actor arrays.
Choices in the Datatable and Variation Actor are using the same structure. Data can be copied manually into the data table with the right click context menu. It can then be used in other Variation Actors. Changes in the data table will automatically travel to all actors that use this data.
Using Datatables can reduce duplicating work. Mistakes can be avoided when making changes to multiple actors with the same data.
Variation Actor - Variation Groups
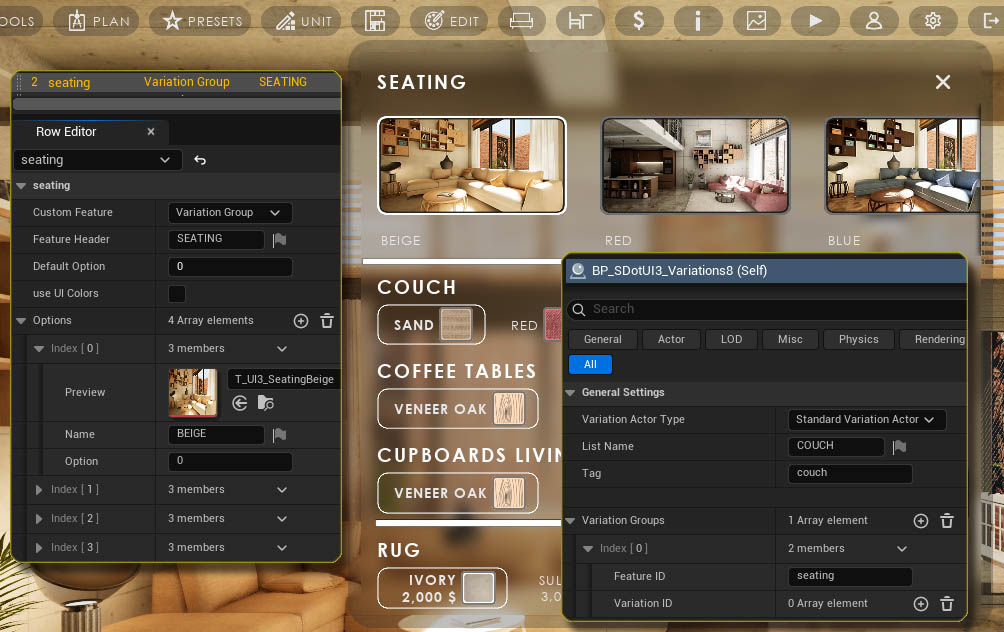
The Variation Group is a Feature with Preview. It can change all Variation Actors that have an entry for it in below settings.
Variation Groups Array
Add an element to this array to include the Variation Actor in a Variation Group.
Feature ID
The Feature ID is the Row Name from the Features with Preview Data table for the Variation Group.
Variation ID Array
There are two possibilities is a button in the Variation Group widget is clicked:
- The array is empty: the choice will be set to the Option from the Features with Preview Data table.
- The array has an element for the clicked ID: the value of the array element will be taken (re-routed) as choice.
Variation Actor - Choices Buttons
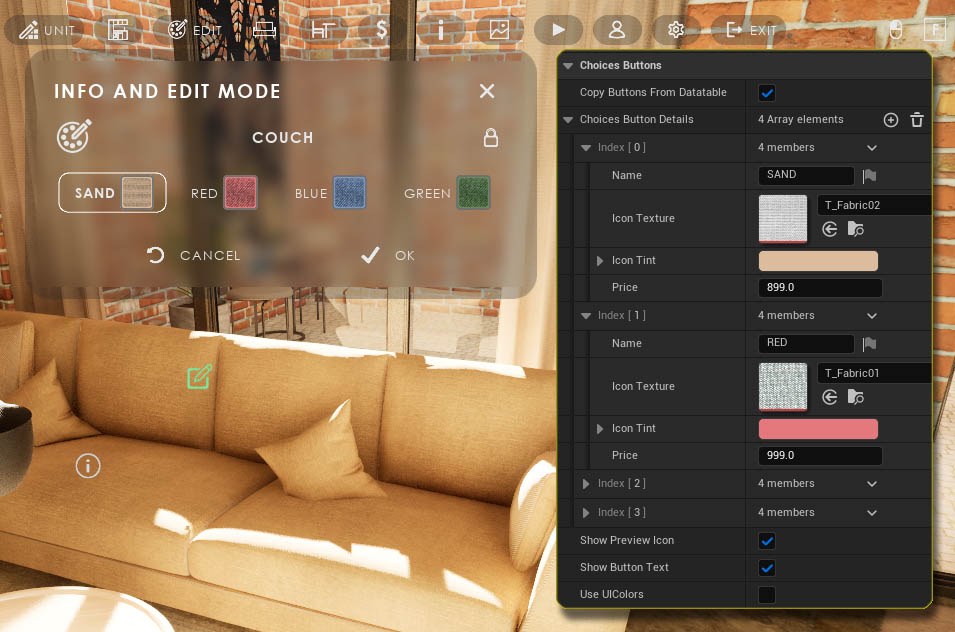
The player needs a button to click on to switch to another choice. In most cases a button symbolizes a different material. Buttons can also represent a different style or the speed of the ceiling fan.
Choice Buttons Details
The button can be created from a tinted icon texture. A lot of stylized material icons are available in UI / Tex / Design / Mat.
A standard texture can also be used as seen in the Rug variation actor in the scene.
Button Flags
- Show Preview Icon Un-tick to hide the preview icon
- Show Button Text Un-tick to hide the button name
- Use UI Colors A black icon on white background will take the UI text color and the white part will be transparent
Variation Actor - Set Up Choices
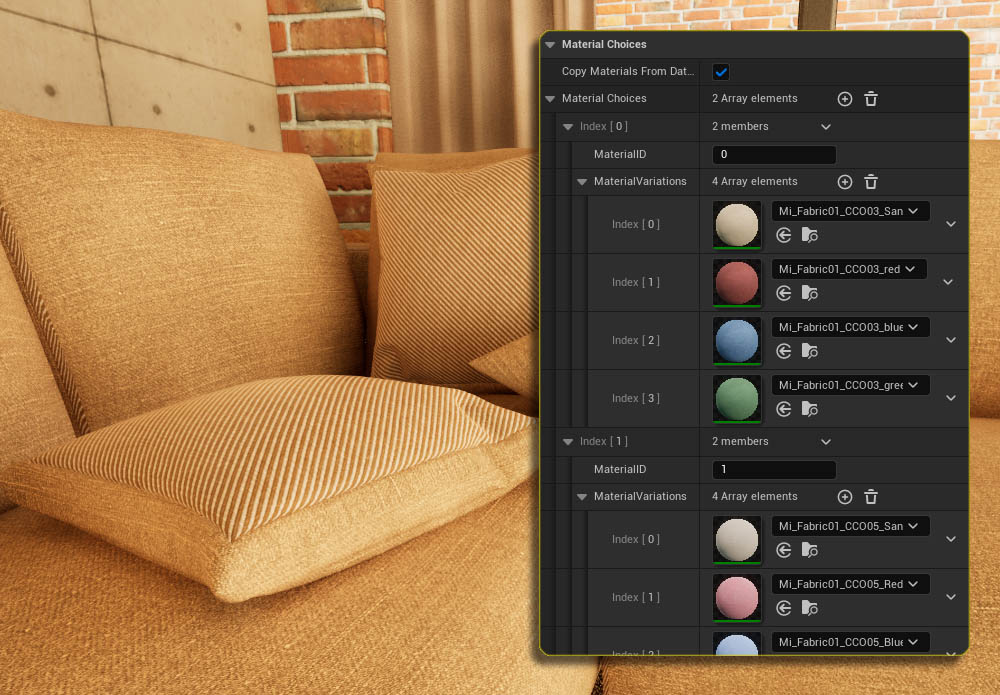
Material Choices Array
Add an array element for each material ID of the object in the scene that has choices.
- Set the Material ID to the object's material ID
- Then add an array element for each choice for that ID to the Material Variations array.
Do the same for another Material ID. In the example image the pillow's 2nd material ID is for the striped material choices.
Both materials will be changed to the choice buttons ID when the button is clicked.
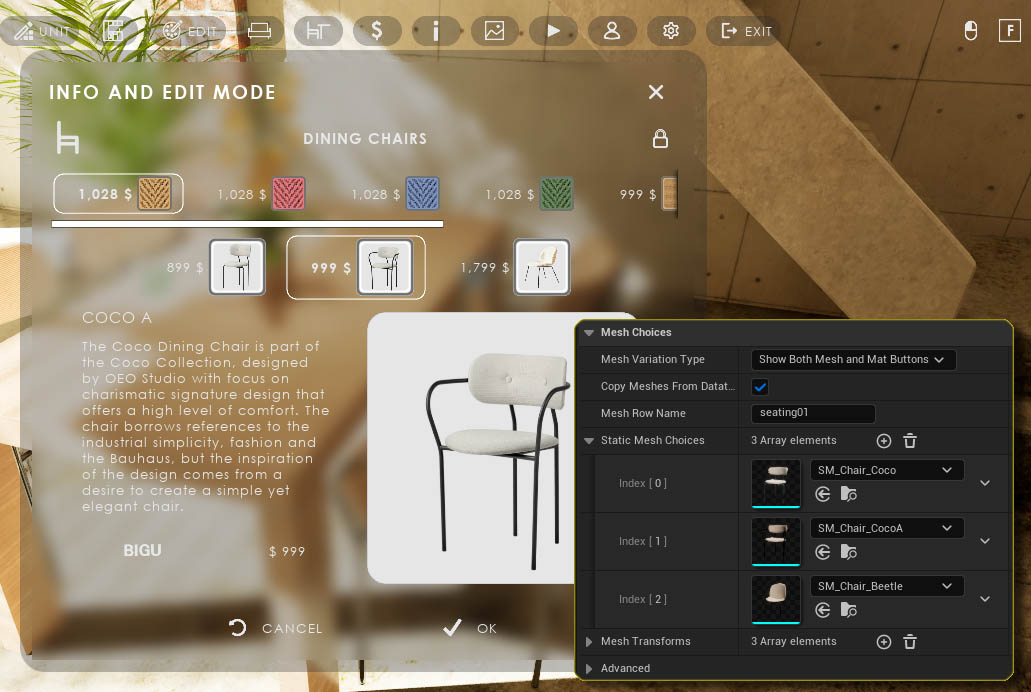
- Disabled The mesh will not change (default)
- Lock Mesh and Material ID The Choice Buttons will change both mesh and material to the selected choice ID.
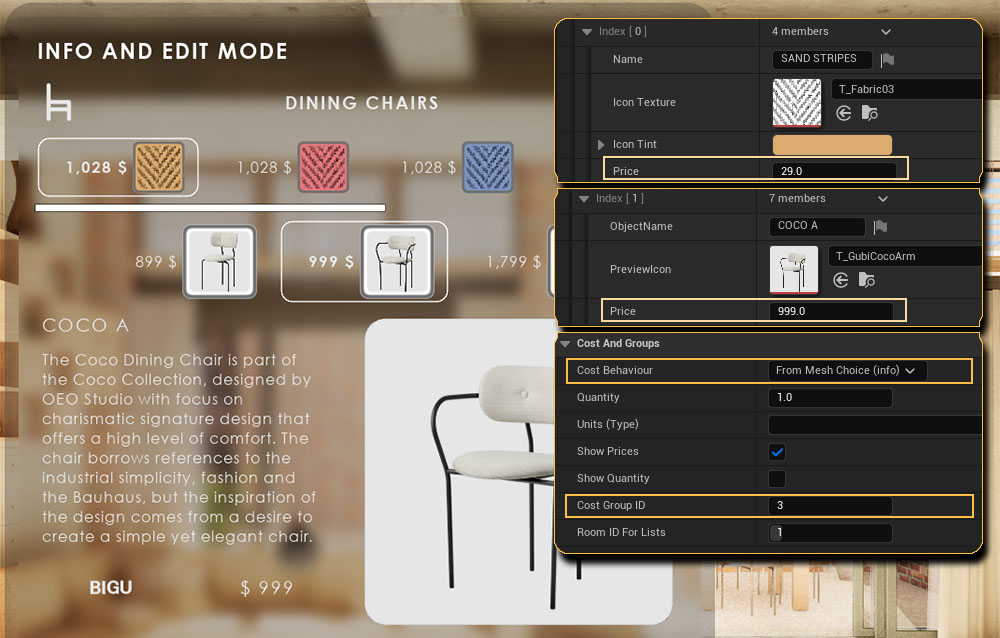
- Show Both Mesh and Material Buttons This will create a 2nd row with buttons for mesh choices. The preview icon will be taken from the Object Info
Mesh Row Name
The row the data is taken when using a Datatable can be the same or different. This way you can use the same material choices with different mesh choices in the scene.
Mesh Transforms
Mesh Variations can be transformed to match each others position in the scene.
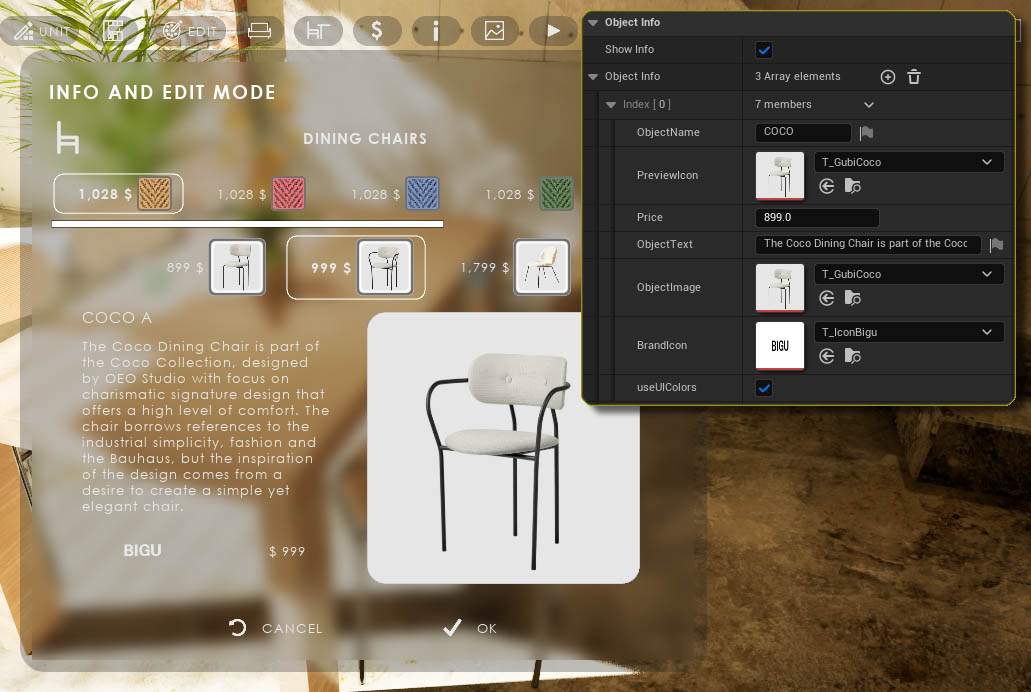
Object Info - Show Info
Expands the widget to show details about the object.
Object Info Array
Add an array element with details for each choice or at least one element which will be used for all choices.
Preview Icon and Object Image
- Object Image the larger image.
- Preview Icon will be used as the button image. Both images can be the same.
Object Text
Some promotional text about the object.
Brand Icon
An icon for the object's brand (optional). Use UI Colors will hide the white image part and use the UI text color for the black part.
Cost and Groups
Cost BehaviourThe cost can be taken from the material or object info price slot. Or it can be a sum of both
Cost Group ID
The Cost Group ID is the array ID of the category which can be defined in the Info Map. It's used in cost reports and by the cost widget.
Room for List is used by inventory lists, not cost reports.
Object Info
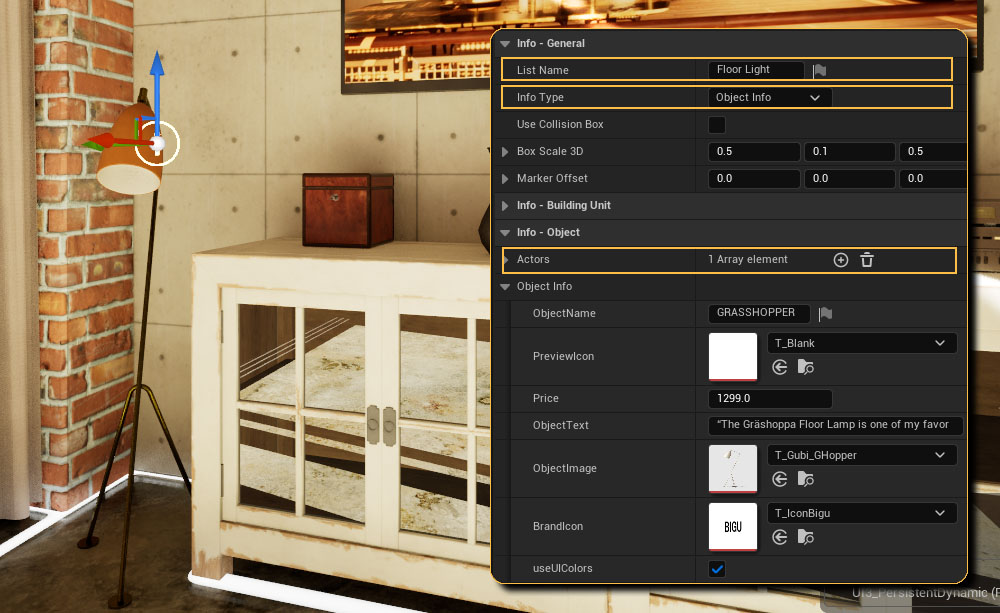
The Object Info blueprint can display information about an object. It works similar to the Variation Actor.
Info Type
- Object Info displays information about an object
- Unit Info displays unit info in multi-unit projects
List Name
The name displayed in the Edit Widget and reports.
Object Info
The information for the object similar to the Variation Actor.
 Top of page