Pages in Documentation

Settings

UI3 Overview

[old] Doors UE5

Quick Start

Swap Actor

Custom Assets

System Drawings

Step by Step

Tips & FAQ

Settings

Multi-Unit-Prj

Google Data Sheets

Data Tables

Video Guides

Quick Videos

Designer

Cost Tracking

Widget Panels

Quick Guide
Scene Settings

Connect BP

VR projects

Version History

F. w. Preview
Fix Known Bugs
UI Settings

UI Layout

Gamemode

FAQ + TIPS

V4 Functions 2

V4 Functions P1

V4 Quick Guide

Ver History

V3 Placements

V3 Mesh Def.

V3 Segments

V3 Quick Start

Books V2

Books V1
Customize
Quick Guide

Swap Actor

FAQ + TIPS

Doors UE4 (V1)

3.1 Bugs Fixes

Ver History
![[2 A] Generic Meshes On Spline Blueprint ../images/architecture/0023/v2-generic/thumbs/01.jpg](../images/architecture/0023/v2-generic/thumbs/01.jpg)
V2 Generic BP
![[2 B] Generic Spline Blueprint Examples ../images/architecture/0023/v2-examples/thumbs/01.jpg](../images/architecture/0023/v2-examples/thumbs/01.jpg)
V2 Examples
![[1] Railings Clone Blueprint Documentation ../images/architecture/0023/v1/thumbs/01.jpg](../images/architecture/0023/v1/thumbs/01.jpg)
V1 Railings Fences

UI 1 - Part 1

UI 1

Ui 1 - Part 2

1 Overview

UI2 Features

UI2 Get Started

UI2 Info Map

UI2 BP Actors

UI2 User Manager

UI2 FAQ

UI2 Tutorials

UI3 Overview

Getting Started

3.1 Info Map

Variation Actor

Blueprints
VR Projects
This will give you a brief overview of what is required to run the UI3 with a VR headset.
The demo project is optimised for PC and may run poorly in some VR environments. Your project needs to be performing well if you want to use it in VR!
This is not a complete guide for VR in Unreal Engine. Follow the links provided for better guides.
Unreal Documentation - XR Best PracticesContent:
Test Your Project
Make sure the project you are trying to use with a VR headset is working in standard PC mode before trying it with your VR headset.- The new Usage Preset - VR in the Info Map will apply a few settings that improve performance. Screen Percentage is set to 65% and the Quality is set to "Medium".
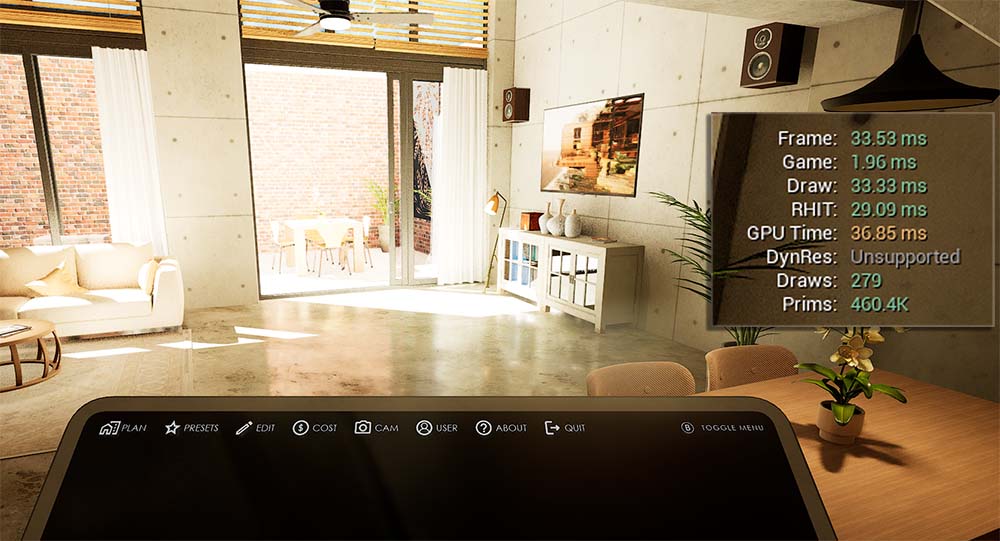
- It has to run with at least 45 or better 90 fps. The image shows 33ms. 1000ms/33ms=30 frames per second for the demo project on my laptop. That would be not good enough.
- Use the console command ~ stat unit to see what is hitting your performance. The lower the time in milliseconds the better. Green values are ok for 30 fps. Game shows blueprints and UI, which is less than 2 ms. Draw shows the time the geometry needs to be rendered per frame.
- Run other apps, preferable Unreal Engine apps to test your hardware.
VR development can be difficult, and optimization is an important skill you'll need for it. You can come a long way by
- The Default Game Settings of the sliders will be applied when the game starts. This only works in a packaged version. You can further reduce the defaults there.
- Disabling Ray-traced reflections, less bounces, or reduce reflection quality in your post process volumes.
- Using Lumen with default settings
- Using Nanite meshes especially for high polygon assets

Steam VR and HTC Vive
Steam VR supports HTC Vive, Oculus Rift and other headsets. There is a good chance that your headset is supported by Steam VR, if it isn't one of the major headset brands. It's well suited for Unreal Engine projects.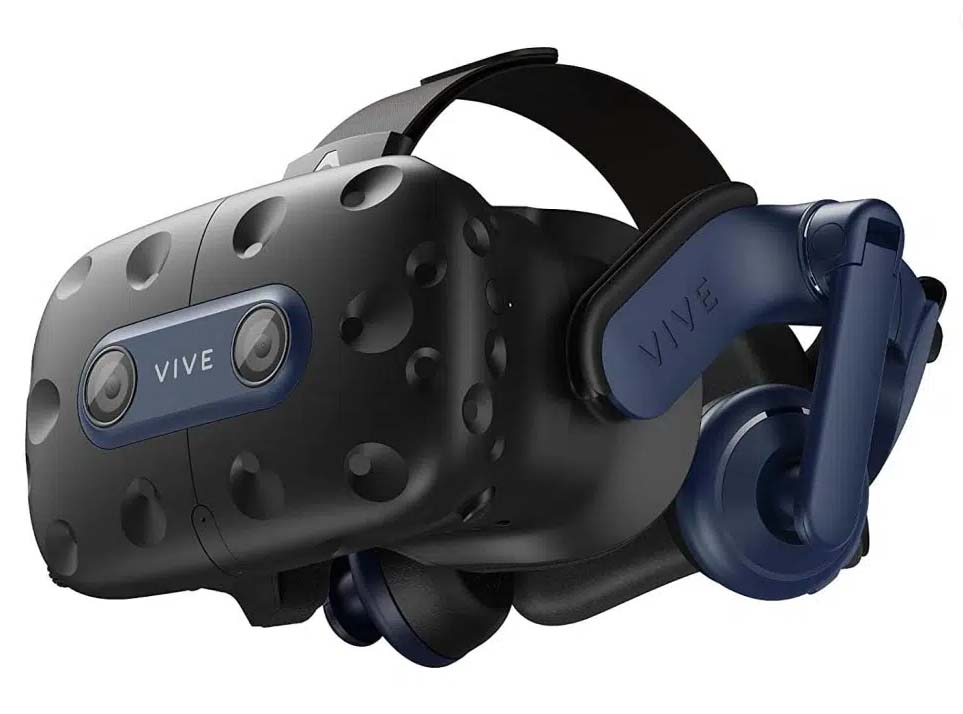


VR Game Mode
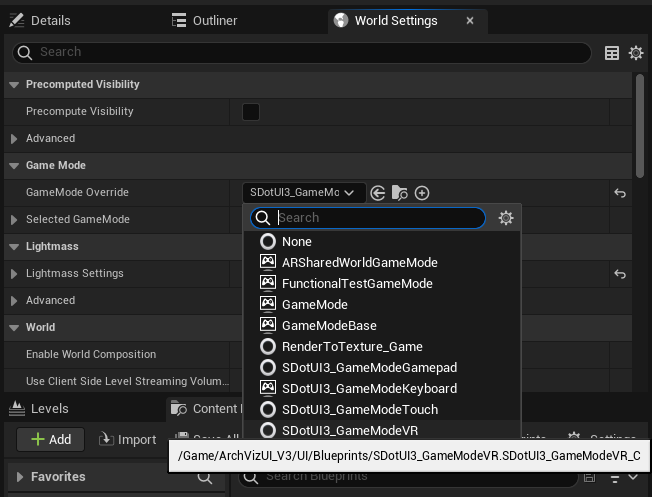
The game mode needs to be set to the SDotUI3_GamemodeVR. Open the world settings of your persistent (main) level. Choose the game mode from the list of Game Mode Overrides as seen in the image and save the level.You should see the virtual tablet next time you play your project in the editor preview with the UI items on it.
The demo project contains the level UI3_PersistentVR that is set up to be used for VR.
Grabbing or pointing at objects with your hands may not work with UI3
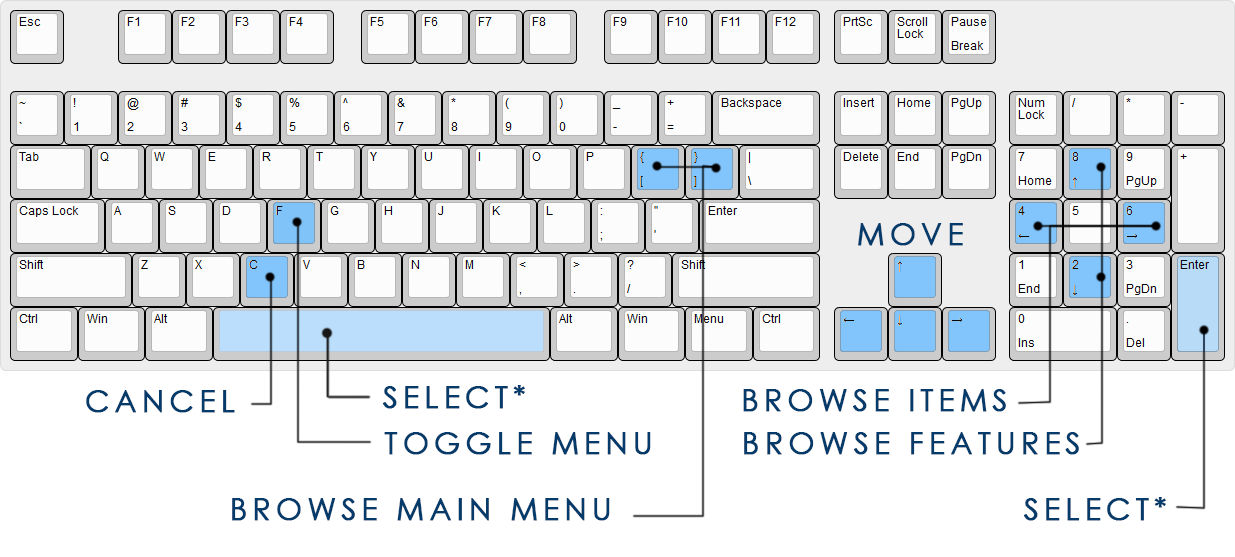
Simulating Input Controls
You need a game controller to navigate through the menu items on the tablet. You can simulate the controller buttons on the keyboard as seen in the image.[ENTER] could be replaced with [SPACE] for select in some UI3 versions
OpenXR Plugin
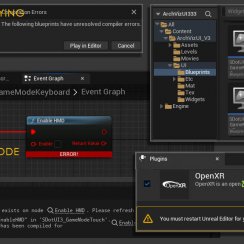
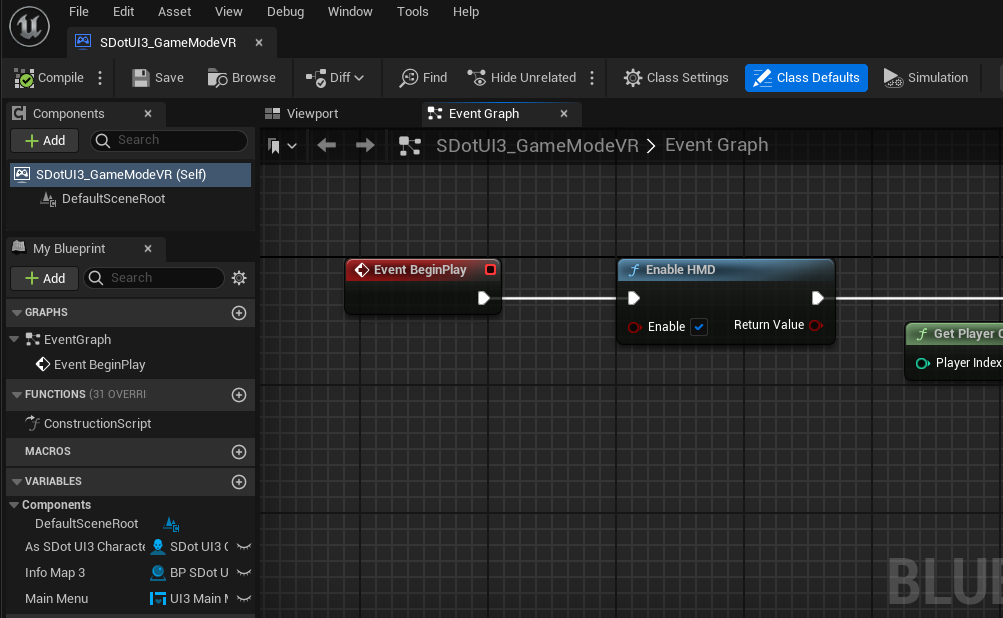
The OpenXR plugin is added to the Demo Project by default. Every Game Mode contains a node from it to either enable or disable the Head Mounted Display (HMD) VR headset. This allows the player to travel from a non-VR to a VR enabled scene within the same application.If you are getting compile errors then check if the OpenXR plugin is enabled in the plugin settings.
Some headsets are not compatible with the OpenXR plugin, In this case you need to remove all Enable HDM nodes from all SDotUI3 game modes. You will need to find the node that enables your headset supplied by the plugin for your headset and connect it to the Begin Play node of the SDotUI3 GamemodeVR.


 Top of page
 FAQ: Debugging, Optimization, Profiling