Pages in Documentation

Settings

UI3 Overview

[old] Doors UE5

Quick Start

Swap Actor

Custom Assets

System Drawings

Step by Step

Tips & FAQ

Settings

CSV Export

Data Tables

Video Guides

Quick Videos

Designer

Cost Tracking

Widget Panels

Quick Guide
Scene Settings

Connect BP

VR projects

Version History

F. w. Preview
Fix Known Bugs
UI Settings

UI Layout

Gamemode

FAQ + TIPS

V4 Functions 2

V4 Functions P1

V4 Quick Guide

Ver History

V3 Placements

V3 Mesh Def.

V3 Segments

V3 Quick Start

Books V2

Books V1
Customize
Quick Guide

Swap Actor

FAQ + TIPS

Doors UE4 (V1)

3.1 Bugs Fixes

Ver History
![[2 A] Generic Meshes On Spline Blueprint ../images/architecture/0023/v2-generic/thumbs/01.jpg](../images/architecture/0023/v2-generic/thumbs/01.jpg)
V2 Generic BP
![[2 B] Generic Spline Blueprint Examples ../images/architecture/0023/v2-examples/thumbs/01.jpg](../images/architecture/0023/v2-examples/thumbs/01.jpg)
V2 Examples
![[1] Railings Clone Blueprint Documentation ../images/architecture/0023/v1/thumbs/01.jpg](../images/architecture/0023/v1/thumbs/01.jpg)
V1 Railings Fences

UI 1 - Part 1

UI 1

Ui 1 - Part 2

1 Overview

UI2 Features

UI2 Get Started

UI2 Info Map

UI2 BP Actors

UI2 User Manager

UI2 FAQ

UI2 Tutorials

UI3 Overview

Getting Started

3.1 Info Map

Variation Actor

Blueprints
UI3 Quick Guide
Quick Guide for the Arch Viz UI3 User Interface available on FAB and the Unreal Marketplace.
Content:
Installation
The ArchViz UI3 project will appear in the Vault in the Epic Games Launcher after your purchase.Use the yellow button to create the demo project. Choose the appropriate Unreal Engine version.
The latest project version will be downloaded. This can take a while.

Content Location
The project files will be installed in the Content folder of the project. MyProject / Content / ArchVizUI_V3.You have to options to migrate the UI3 to your own project:
- Migrate the entire ArchVizUI_V3 folder. This includes all demo levels and all assets used in them. It's about 2 GB.
- Migrate only the UI folder. This contains all blueprints, widgets, icons and everything you need for the user interface. It excludes the demo levels and assets in it. It's about 80 MB
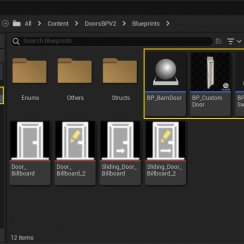
The yellow marked blueprints in the UI / Blueprints folder are the ones that will be placed in the scene for the interface to function.

Game Mode
Set the Game Mode Override in the World Settings. Choose one of the four SDot UI3 Game Modes from the list.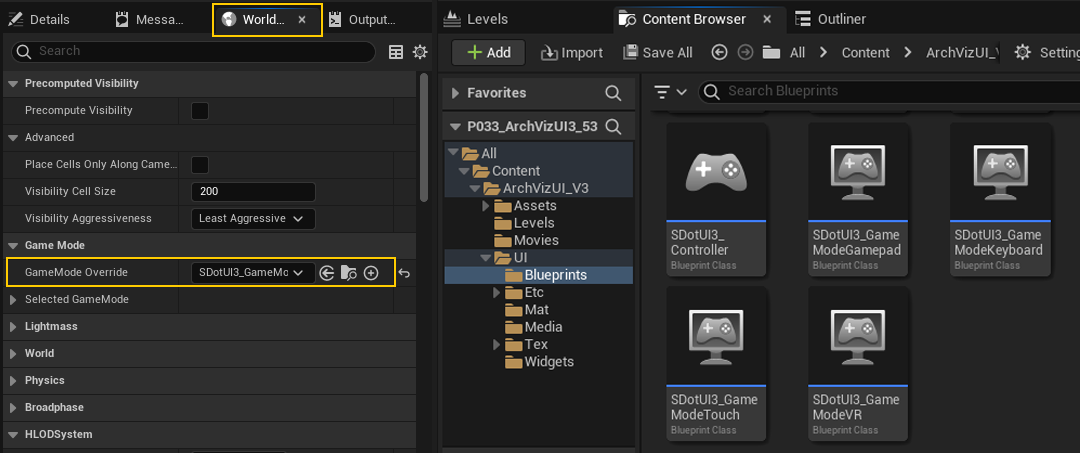
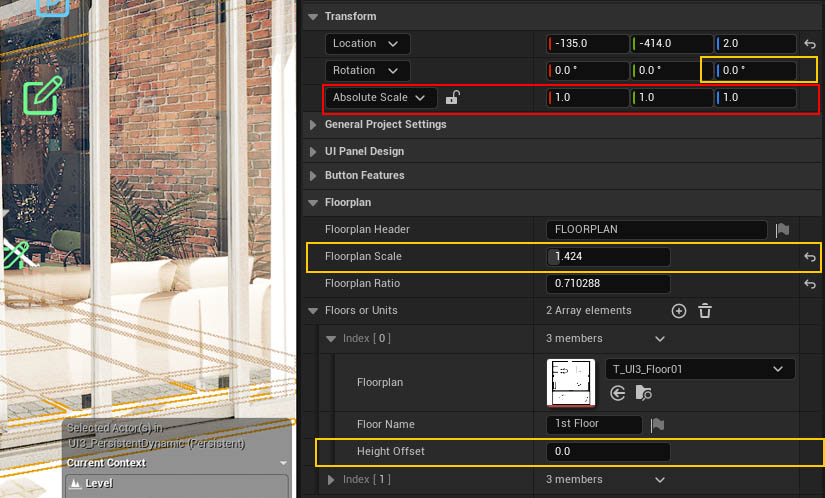
| Floorplan | |
| Floorplan Scale | Manually scale the floorplan here. This makes sure that the XY ratio stays intact. |
| > Floors or Units | Use the (+) icon to add floors or units. |
| Floorplan | Drawings have to be black on white background |
| Height Offset | start with the lowest floor and add the height offset from that level to each additional floor above. |
Use Transform to align the location and the rotation.
| Transform | |
| Location | Move the floorplan roughly to the correct position |
| Rotation | Use the Z rotation to align the floorplan to the building |
| Scale | Do not change the scale |
Interface Panel Layout
The UI Panel Layout is set with the Main Menu Layout array. Each Index is a main menu button appearing from left to right on top of the screen.Feature Panels will appear below when you click a main menu button. You can fit 3-4 smaller panels in one button. Some features, like the floorplan, need their own panel. There is no "panel scrolling", only items within the panels can scroll.
| > Panels Design | |
| > Main Menu Layout | One main menu button equals one array index |
| Menu Icon | Menu icons are in UI / Tex / Icons |
| > Feature Panels | Feature Panels appear vertically stacked below the button |
| Feature Type | Choose from the list |
| Feature ID | Some features that can be placed in multiple version require an ID |

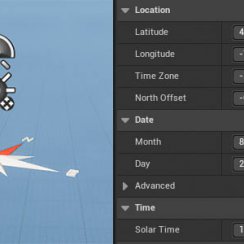
Scene Settings
Scene Settings alter the way the application is played: Quality, Movement, Camera.You may want to reduce quality to improve performance for example.
This is set in the Settings - Game section. Every section has an array with values for the sliders. The Default value is loaded when the app starts, regardless of the settings panel being placed in the UI or not.

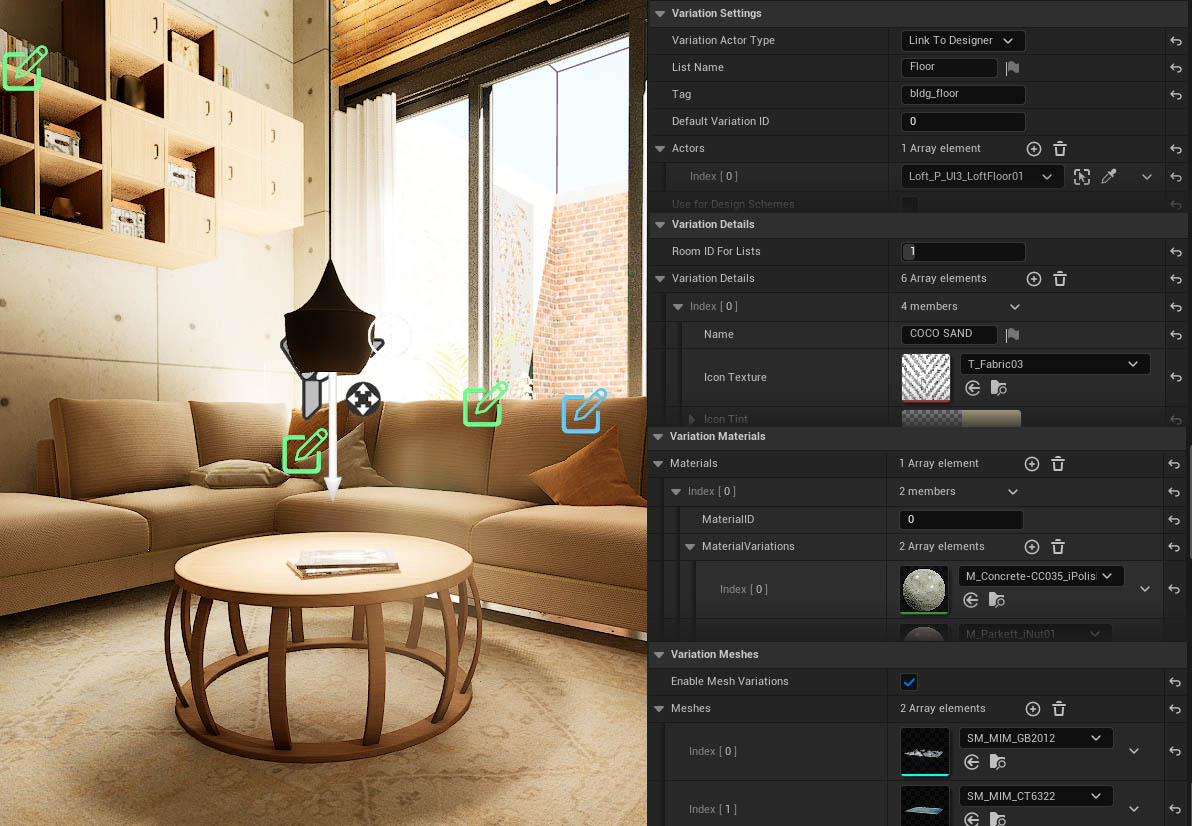
The blueprint actor BP_SDotUI3_Variations is the link between the interface and the object in the scene. Place one next to the object(s) that should change. Object and Blueprint need to be in the same level.
| Variation Settings | |
| Variation Actor Type | choose the type for the variation actor from the list |
| Tag | Designer uses a matching tag name to link to variation actors |
| > Actors | connect static mesh actors in the scene with the eye dropper |
| Variation Details | set the name, price, or preview icon per choice |
| Variation Materials | set the materials per material ID and choice. |
| Variation Meshes | set static mesh variations. |
| Variation Info | provide more info about the object (optional) |
The Variation actors multiple arrays are all connected by the index. Material choice, Mesh choice, Details, and Info are all set to the same index.
The Designer is able to change materials and mesh variations independently for the same object.
Packaging
Run the editor on its own first, not by loading a project. This seems to install any missing "pre-requisite" applications.Install the free Visual Studio Community version from Microsoft's website. This is required to package a project. There is an Unreal Engine component with it that needs to be selected during install.
Open the Project Settings -> Packaging
| Packaging | |
| > Advanced | Scroll down to the advanced packaging section |
| > List of Maps to include in a packaged built | Add your persistent levels to the list. |
| Additional Non-Asset Directories to
Package Additional Non-Asset Directories to Copy |
Add the movies directory to the list, if it isn't Content/Movies |
Click on Platform to start packaging.


 Top of page
 Variation Actor