Pages in Documentation

Settings

UI3 Overview

[old] Doors UE5
Quick Guide 2026
Quick Start
Swap Actor
Custom Assets
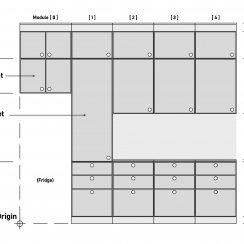
System Drawings
Guide 2022
Tips & FAQ
Guide 2024
Updating
Feat. w. Preview
Fix Bugs
FAQ & Tips

Cost Reports
Modes
Other Features
Designer
Edit Scene
Var Actor
New in 2026
Multi-Unit-Prj
Google Sheets
Data Tables
Video Guides
Quick Videos
Designer

Cost Tracking
Widget Panels
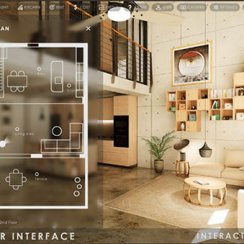
Quick Guide
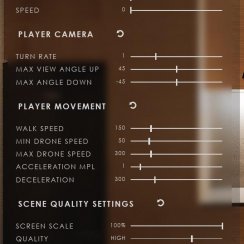
Scene Settings
Connect BP
VR projects
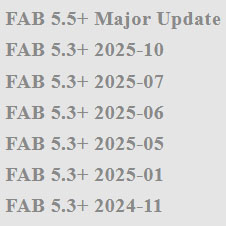
Version History
F. w. Preview
Fix Known Bugs
UI Settings
UI Layout
Gamemode
FAQ + TIPS
Quick Guide
V4 Functions 2
V4 Functions P1
V4 Quick Guide
Ver History
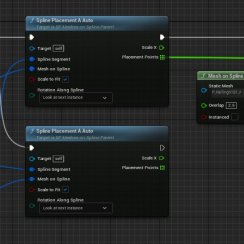
V3 Placements
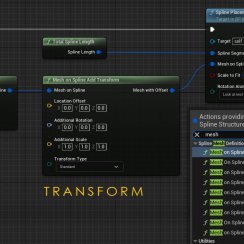
V3 Mesh Def.
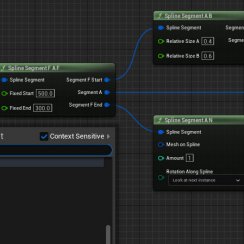
V3 Segments
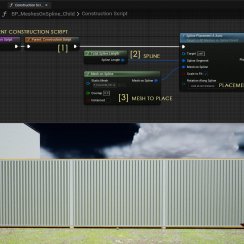
V3 Quick Start
Books V2
Books V1
Custom Assets
Additional Assets
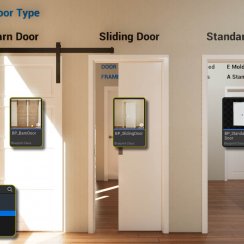
User Guide
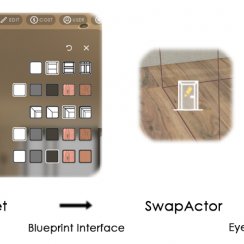
Swap Actor
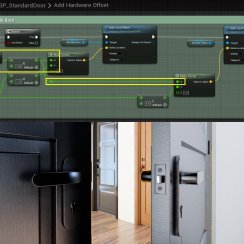
FAQ + TIPS
Doors UE4 (V1)

3.1 Bugs Fixes
Ver History
V2 Generic BP
V2 Examples
V1 Railings Fences

UI 1 - Part 1
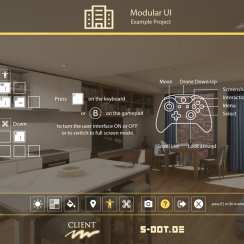
UI 1

Ui 1 - Part 2

1 Overview
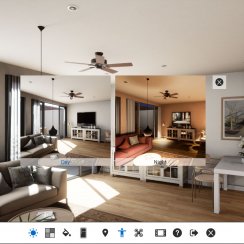
UI2 Features
UI2 Get Started
UI2 Info Map
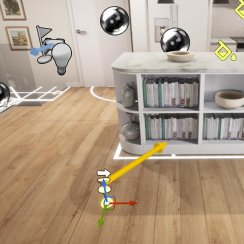
UI2 BP Actors
UI2 User Manager
UI2 FAQ
UI2 Tutorials

UI3 Overview
Getting Started

3.1 Info Map
Variation Actor
Blueprints
Getting Started With UI3
How to get started with the UI3 in your own project:
Content:
Video Tutorials (UE 5.3)
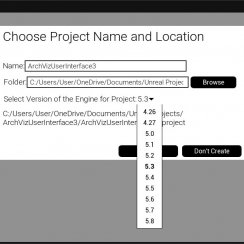
The Video Tutorials are a bit out of date but may still have useful information, especially for people who are new to Unreal.Video 1 and 2 are about creating a project and migrating the interface to it.
The editor is changing over time but the way things work does not fundamentally change that much.
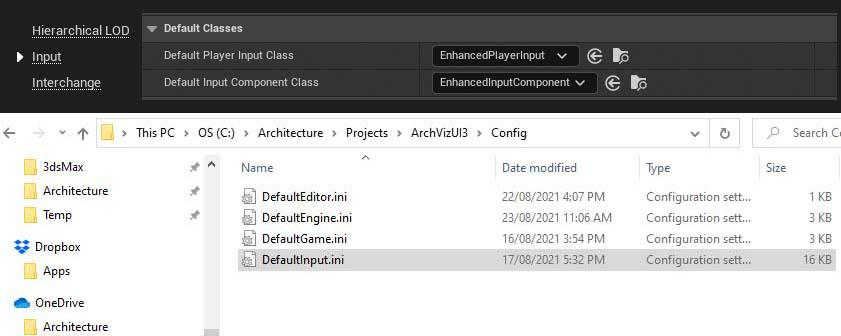
The Input.ini file is obsolete now, please ignore this section.
 Video Tutorial Playlist
Purchase and Installation
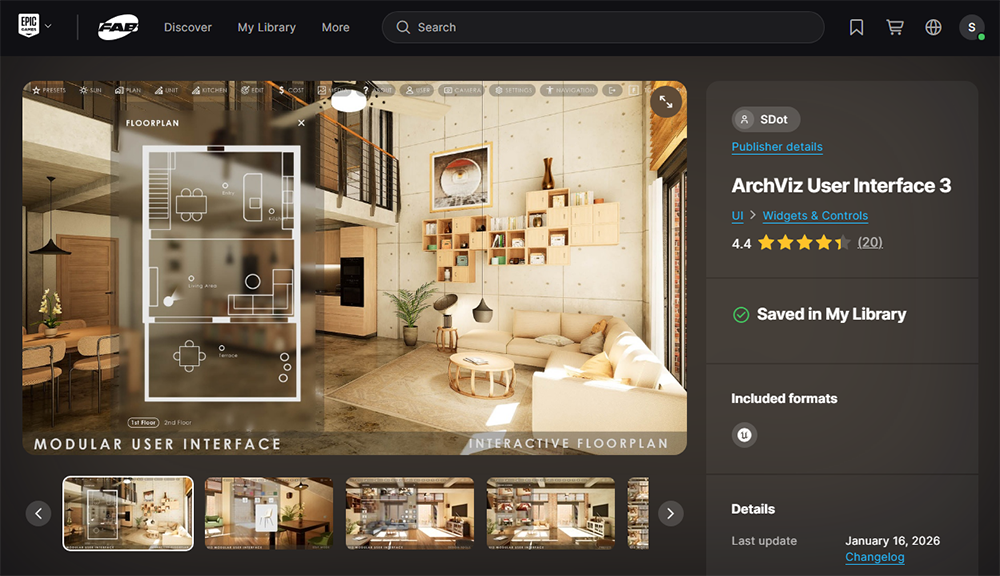
The ArchVizUI3 project can be purchased on FAB. It should show up when you search for UI3Create the ArchVizUI3 Project
Use the FAB Plugin to install the UI3 project. Follow the first steps from the UI3 Quick Guide
- Migrate the UI3 project to your project
- Enable the necessary Plugins
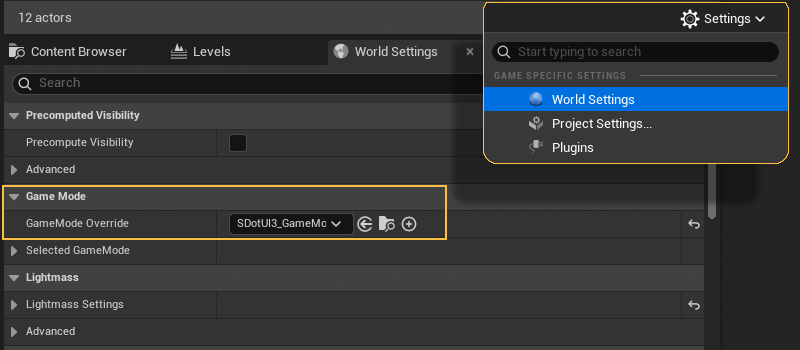
- Set the Game Mode in the World Properties of your main level.
Then continue with the first steps below.
The Epic Games Launcher Library doesn't seem to be able to install the project anymore. Use the FAB Tab in the launcher or the plugin in the Editor instead.
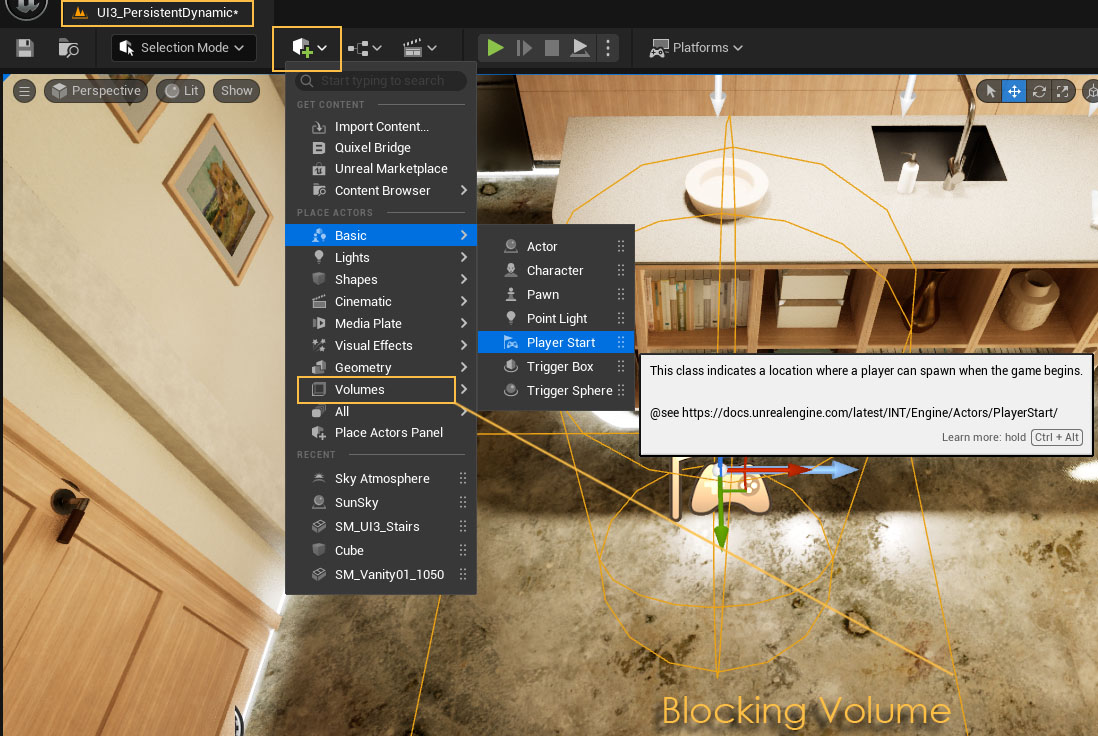
Place a Player Start
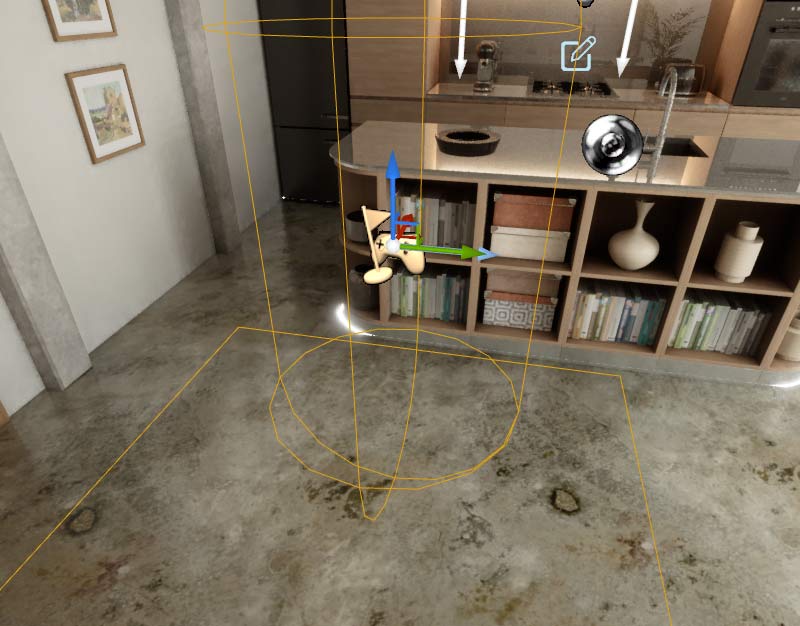
Add a player start to the main (persistent) level of the scene, at the position where the player should start when the app starts.Place a Blocking Volume under the player start so the player doesn't fall through the floor in case the level geometry isn't loaded yet.
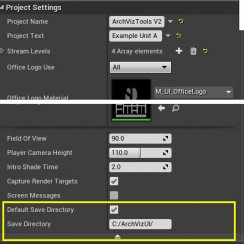
Project Settings
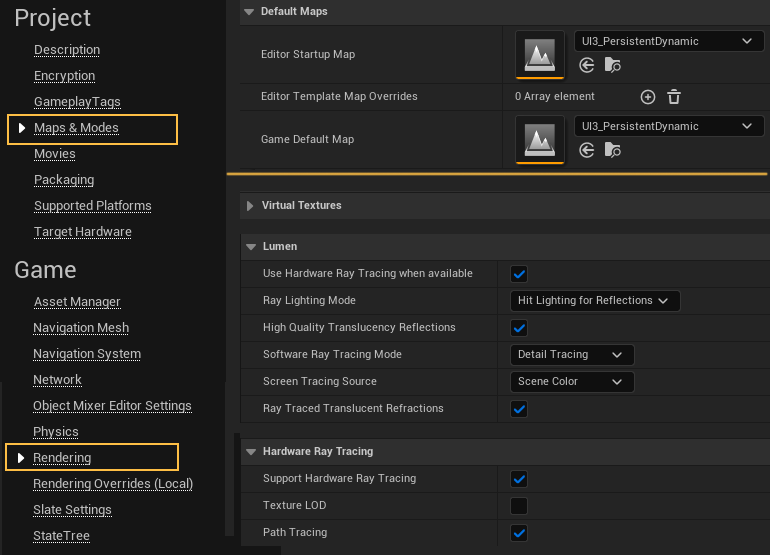
Most project settings are already set the best way possible. Be careful changing anything, it can have unexpected effects.If bad comes to worse then delete the Config folder of your project. This will reset all settings.
Maps and Modes
Set the start maps here.
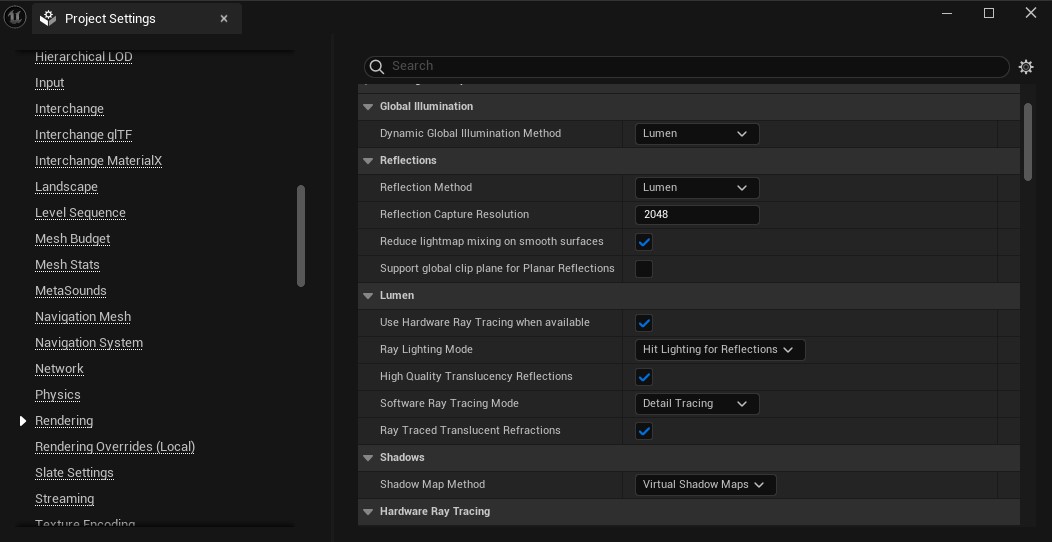
Rendering
Most other relevant settings affecting the scene quality live here. Some settings need additional settings in the Post Process Volume
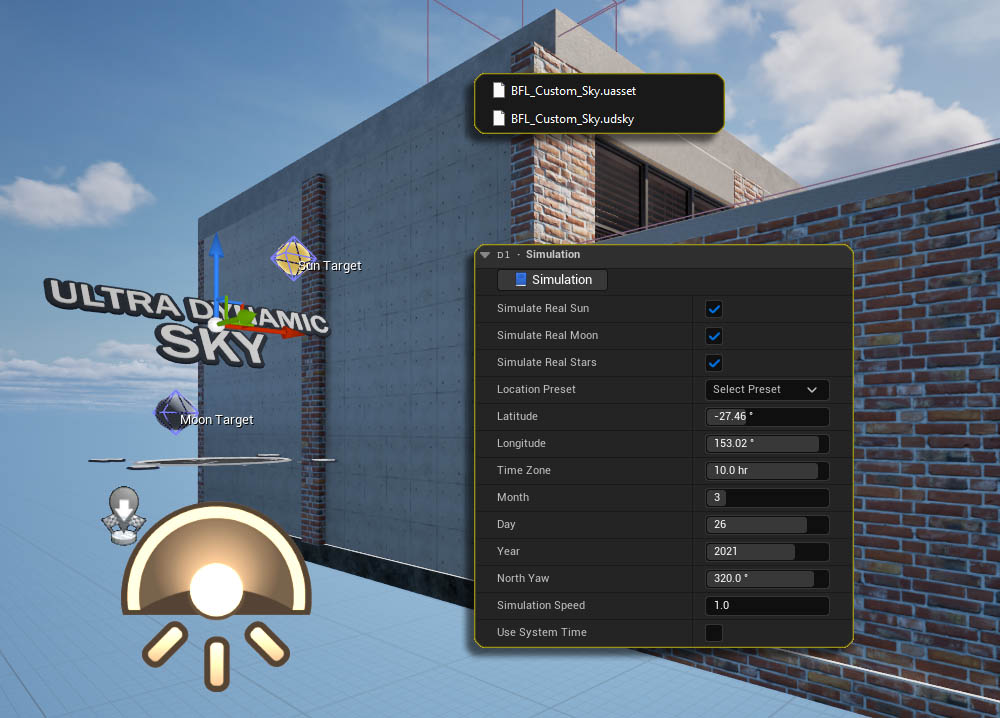
Ultra Dynamic Sky (optional)
UI3 supports the Ultra Dynamic Sky (UDSky). Check the UDSky documentation for more details.
Rename Blueprint Library
Close the Editor. Replace the blueprint library (ArchVizUI_V3/UI/Blueprints) for the Sun Sky with the one made for the UDSky by renaming:
- BFL_Custom_Sky.uasset to BFL_Custom_Sky.old
- BFL_Custom_Sky.udsky to BFL_Custom_Sky.uasset
Ultra Dynamic Sky Settings
Remove all sky related actors like Sun Positioning, Fog, Clouds, or Sky Sphere so the level is completely black. Then place the Ultra Dynamic Sky blueprint into the sub level UI3_DynamicLighting.
| >D1 - Simulation | |
| Simulate Real Sun Simulate Real Moon Simulate Real Stars |
Tick all three simulation boxes |
| Location Preset | Set your project location from the Preset List, if available |
| Latitude Longitude |
Or set the location values manual here |
| Year | Month | Date | Set the current date as a starting point |
| North Yaw | This will rotate the sun to line up with the real sun position |
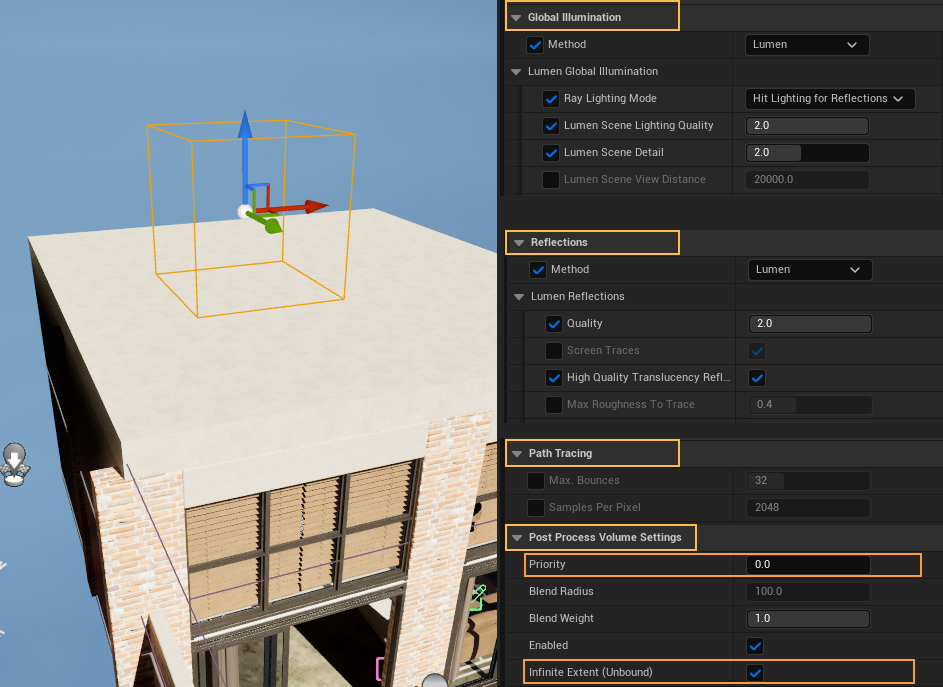
Post Process Volume
A Post Process Volume defines the final quality of the scene. It effects the player camera and not the objects in the scene. It only takes affect if the player is in the volume.Post Process Volume Settings
- Volumes with higher priority will overwrite ones with lower priority.
- One Volume can be set to Infinite Extend (Unbound) which then will effect the entire scene.
Global Illumination and Reflections
Should be Lumen in higher engine versions. It's recommended to increase some values a bit for better quality.
Path Tracing
Can be enabled for ultra high quality screenshots. This is a ray-tracing renderer and not suitable for real-time playing.
Different engine version may require different settings
World Settings
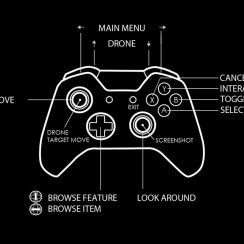
World Settings is are set in the main or persistent level. The game mode for the scene defines which input controller is used. Game modes exist for Keyboard/Mouse, Gamepad, Touch, and VR.Game Mode Overwrite
Choose from one of the 4 SDotUI3_GameModes.
This can be changed at any time. It can be easier to set the game mode to Keyboard/Mouse during development and then switch near the end to another mode.
 Top of page